Remake: Old Lampshade to Fabulous Chicken Wire Basket
Last month I was a guest on Ucreate making this wonderful chicken wire basket out of an old unused lampshade. I am reposting it on Make it Do so I have it in my archives. If you missed it on Ucreate… you are in for a treat. This is a fabulous project… easy and recycled (ie. cheap), this Chicken Wire Basket has lots of charm.
*******************************************************
I was walking down the aisle of my local hardware store the other day and spotted a roll of chicken wire. Somehow it made it into my cart despite not having any idea of what I could do with it. Maybe it was because chicken wire fits into the category of mason jars and clothespins for me. Practical and homey… with a timeless charm that I love.
Just so my purchase wasn’t made in vain, I set my mind to looking for the perfect project. My first thought was to make a bird’s nest lined with moss. But then I spotted a chicken wire basket in a decorating magazine and thought “I can make that…”
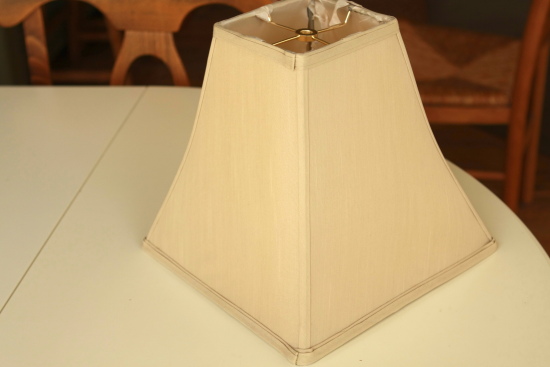
First, I needed something to serve as a mold for my basket. After a scavenger hunt through my basement, I spotted an old lampshade. Taking a closer look, I realized it had a heavy wire frame under the fabric cover. Sorry for the pun, but Lightbulb! With its great flared shape, it would make a lovely basket. I just love giving old things new life.
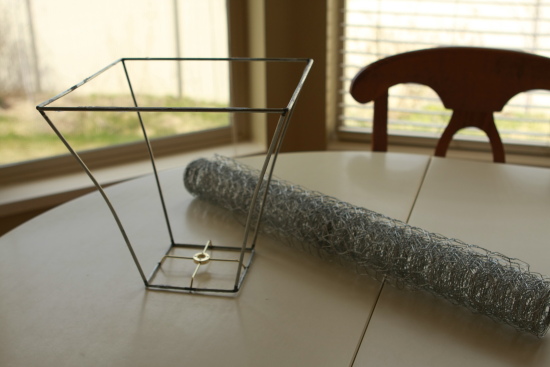
After a little deconstruction with scissors pulling off the fabric, my frame was ready for chicken wire. I left the top fitter wire in place on the frame, since it would have needed a small saw or some other nonsense to remove it. Plus I could always use it as a lampshade someday. Right?
A word to the wise: you will want to wear leather gloves and eye protection for this project. Chicken wire can be very sharp!
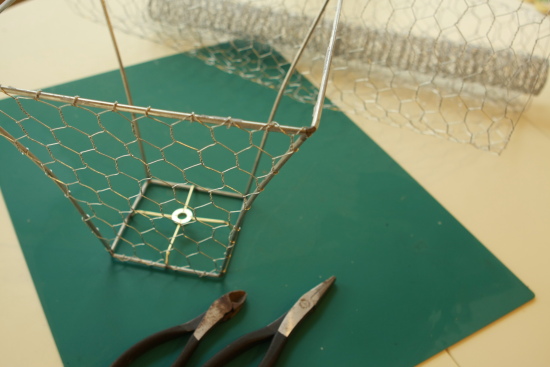
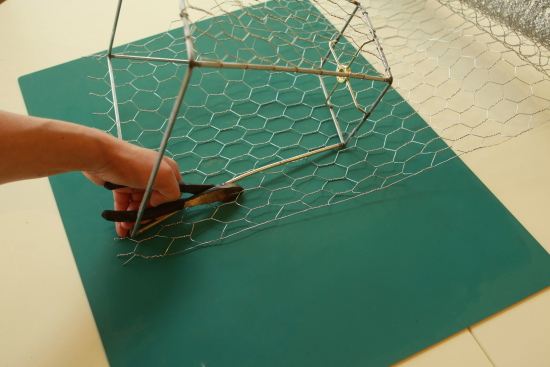
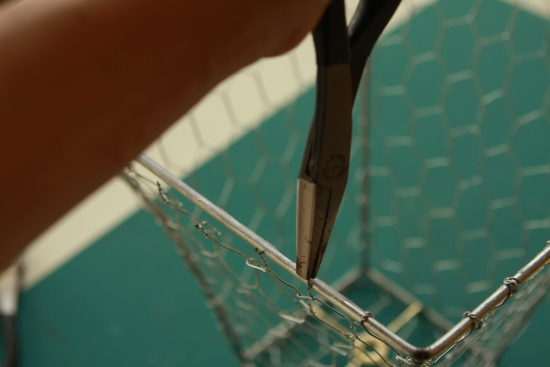
I laid the frame on it’s side, on top of the chicken wire, to use as a guide and clipped around it using wire cutters. Using needle nose pliers (my husband will say they are actually duckbill pliers) I twisted the wire ends around the frame on the first side.
I repeated the process on the opposite side. Yes, I was reckless. I didn’t wear my gloves… and have a few scrapes to show for it.
As I wrapped the wire, I made sure to pull the wires tautly.
For the final two sides (which were opposite each other on the frame) I used one long piece so that the chicken wire covered the bottom and both sides. Again I laid the frame right on top of the wire to use as the guide to cut my wire. Remember when cutting your wire, you can always take some off, but you can’t put it back on. When in doubt, cut a little bigger. I ended up trimming off some of the wire as I wrapped the final side.
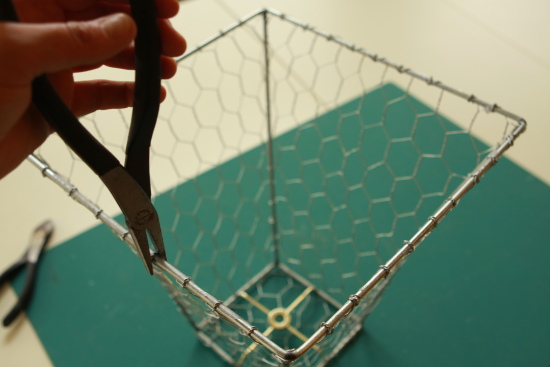
After I was done, I went around the entire basket with my pliers, carefully squeezing any loose or sharp ends.
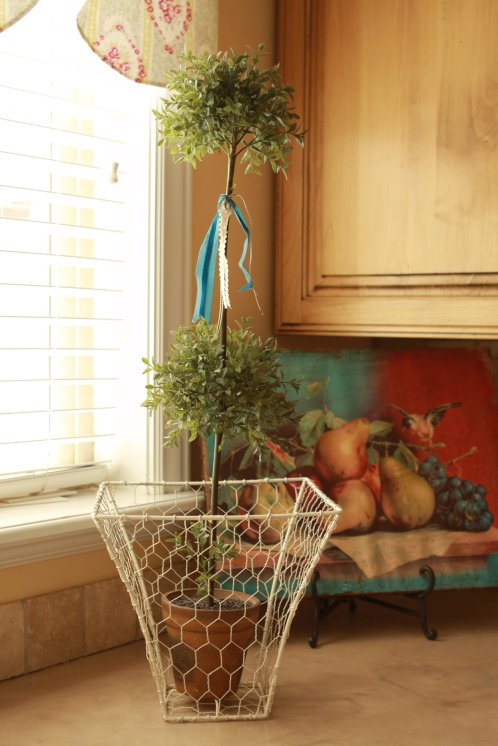
And the results… I just love projects that work like a charm. But it wasn’t quite done yet.
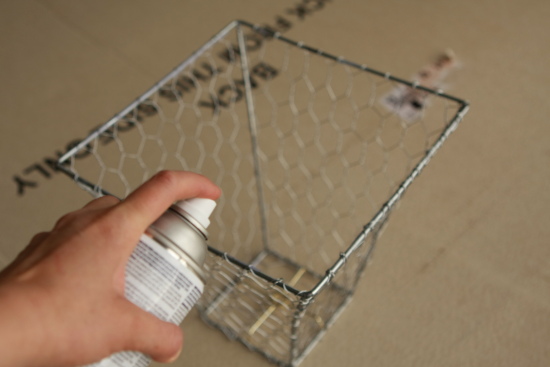
So I picked out a can of spray paint. I almost went with a cornflower blue… but the versatility of antique white won out. Rusty brown or black would have been nice too.
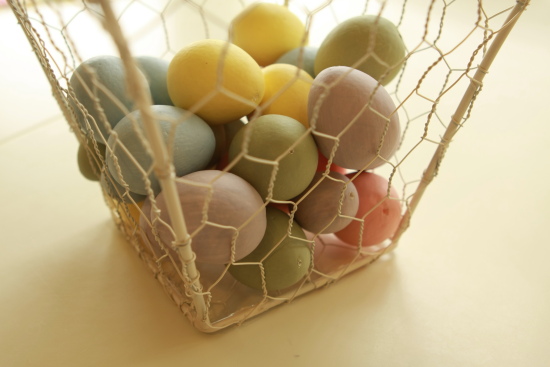
I was right, antique white is perfect for spring.
It also looks fabulous with the topiary.
It is even cute as a small waste basket in my guest bathroom.
All in all this was a fun and inexpensive project that only took me a few hours to complete. So next time you run across an old lampshade, don’t throw it away! Introduce it to some chicken wire and make it into something really lovely.










What a WONDERFUl idea – I love it! I have TWO lampshades right now doing nothing but taking up space :)
I agree, Chickenwire is like mason jars and clothespins!
How clever and cute is that! Thanks for sharing the idea.
This is fantastic!!! I love that it looks (fairly) easy, but the finished project looks so fancy! Great job! Thanks so much for the inspiration…I think I’m gonna try to make one of my own…;)
This is really beautiful and looks easy!
So cute Calli! See you soon!
I LOVE this! I’ve been looking for some sort of wire/iron basket to put mason jars in. Real vintage stuff is too much $$$ for my taste. Maybe with the right size and shape lamp shade it will work. And it’s frugal too! Really love it with the eggs too, maybe a good Easter basket idea for next year!Thanks for sharing!
This is awesome!!! I’ve seen these in magazines etc. but they are too expensive. I’ll keep my eyes peeled for a suitable lampshade at a thrift store or something.
[…] Lampshade to Basket Transformation – Isn’t this little basket and topiary with the ribbon adorable! […]