nanaCompany Needlebooks
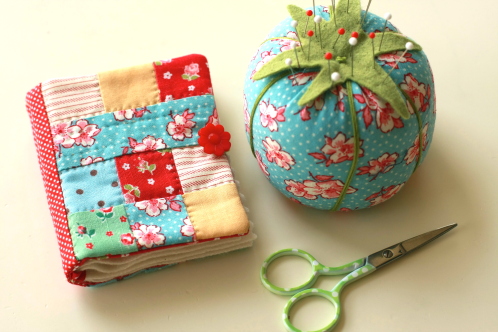
I thought I’d share a little gift I gave my girls for Christmas this year. The tomato pincushions are from a tutorial found here on Martha Stewart. The embroidery scissors, while not the world’s best scissors, are a big step…
I thought I’d share a little gift I gave my girls for Christmas this year. The tomato pincushions are from a tutorial found here on Martha Stewart. The embroidery scissors, while not the world’s best scissors, are a big step…
First of all, for the random winner of Tanya Whelan’s beautiful book Sew What You Love: The Easiest, Prettiest Projects Ever Congratulations Enid! Send me an email with your mailing address so we can get your book sent out to…
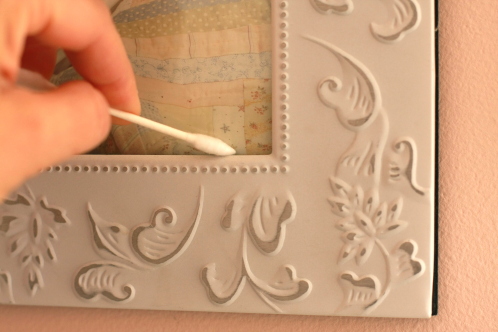
I’ve been trying to deep clean this month. Nothing feels better than making a room really shine. As I go through each room, I’ve been dusting thoroughly, including my picture frames. They say that half the battle of any cleaning…
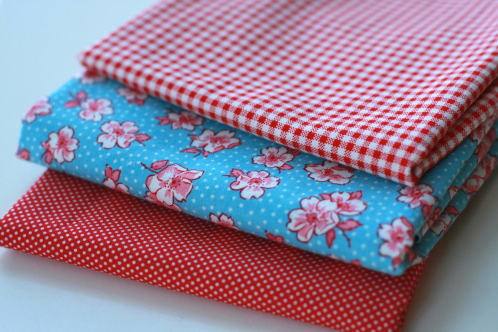
My New Year’s Resolution: Don’t buy fabric unless I KNOW what I’m using for and how much I’ll need. It hasn’t taken long, and I’ve kind of broken that resolution already. I stole a piece of this floral fabric (Karen…
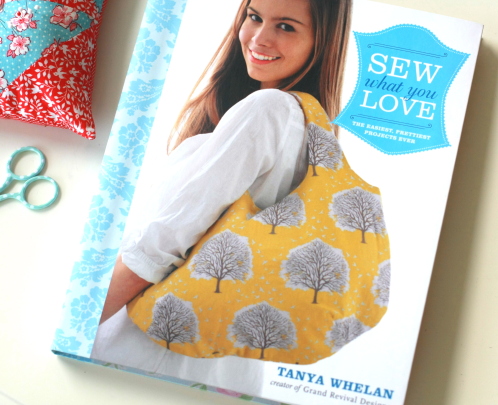
Last week I received a lovely surprise in the mail. It was a copy of the new book by Free Spirit fabric designer, Tanya Whelan. Sew What You Love: The Easiest, Prettiest Projects Ever I love Tanya’s fabrics so I…
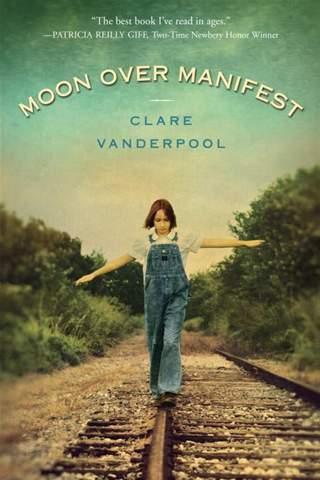
January is one of my favorite months to read. Maybe it’s because I’ve been too busy to pick up a book in what seems like an age. The chance to read seems like a gift come January. Nothing’s better than…
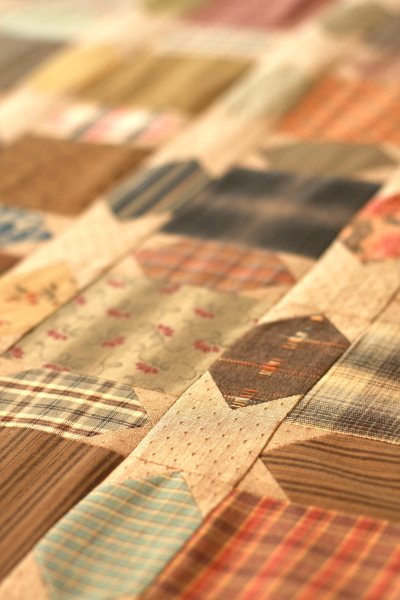
It’s a wonderful thing about mothers, sometimes they teach you how to do something… and then they teach something infinitely even more important by their example. Yesterday I spent the day with my Mom working on a quilt. We almost…
About a month or so ago I received an email from a new reader of Make it Do. After reading, she realized that she knew my mom and had even taken a quilt class from her long ago. The reason…
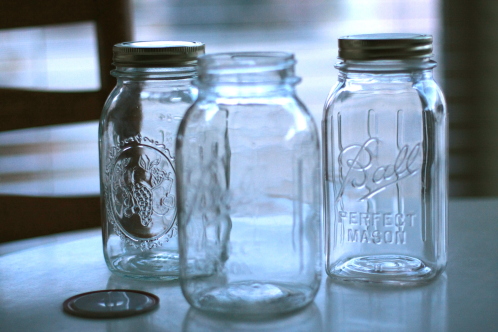
Right about now, my family is well on our way to eating and enjoying the yummy cans of food I put up in the Fall. When we finished eating a jar of peaches (or grape jelly or applesauce or peppers,…
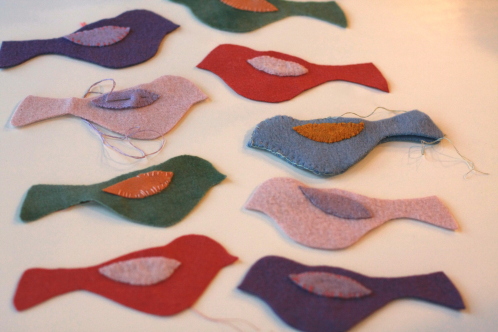
After school yesterday I invited my friend’s daughters over to stitch with my girls. I let the girls pick through scraps of wool to find colors they liked. We traced the little bird template onto freezer paper, pressed the freezer…
I just finished taking down our Christmas decorations yesterday. We planned on taking it all down on Monday, but my Emma said “Oh Mom, it will ruin the end of our vacation!” “You don’t want to work?” I asked. “No…
Happy New Year to you all! This past week life has finally slowed down. My family and I have happily been doing a lot of nothing. This heavenly break has given me the chance to think long and hard about…