Hi, I’m Calli
Welcome! If you enjoy your visit, be sure to follow me:
Oh My Stars!
Canning Day Quilt

Posts Tagged ‘using scraps of fabric’

Scraps for a Book Cover

IMG_2893

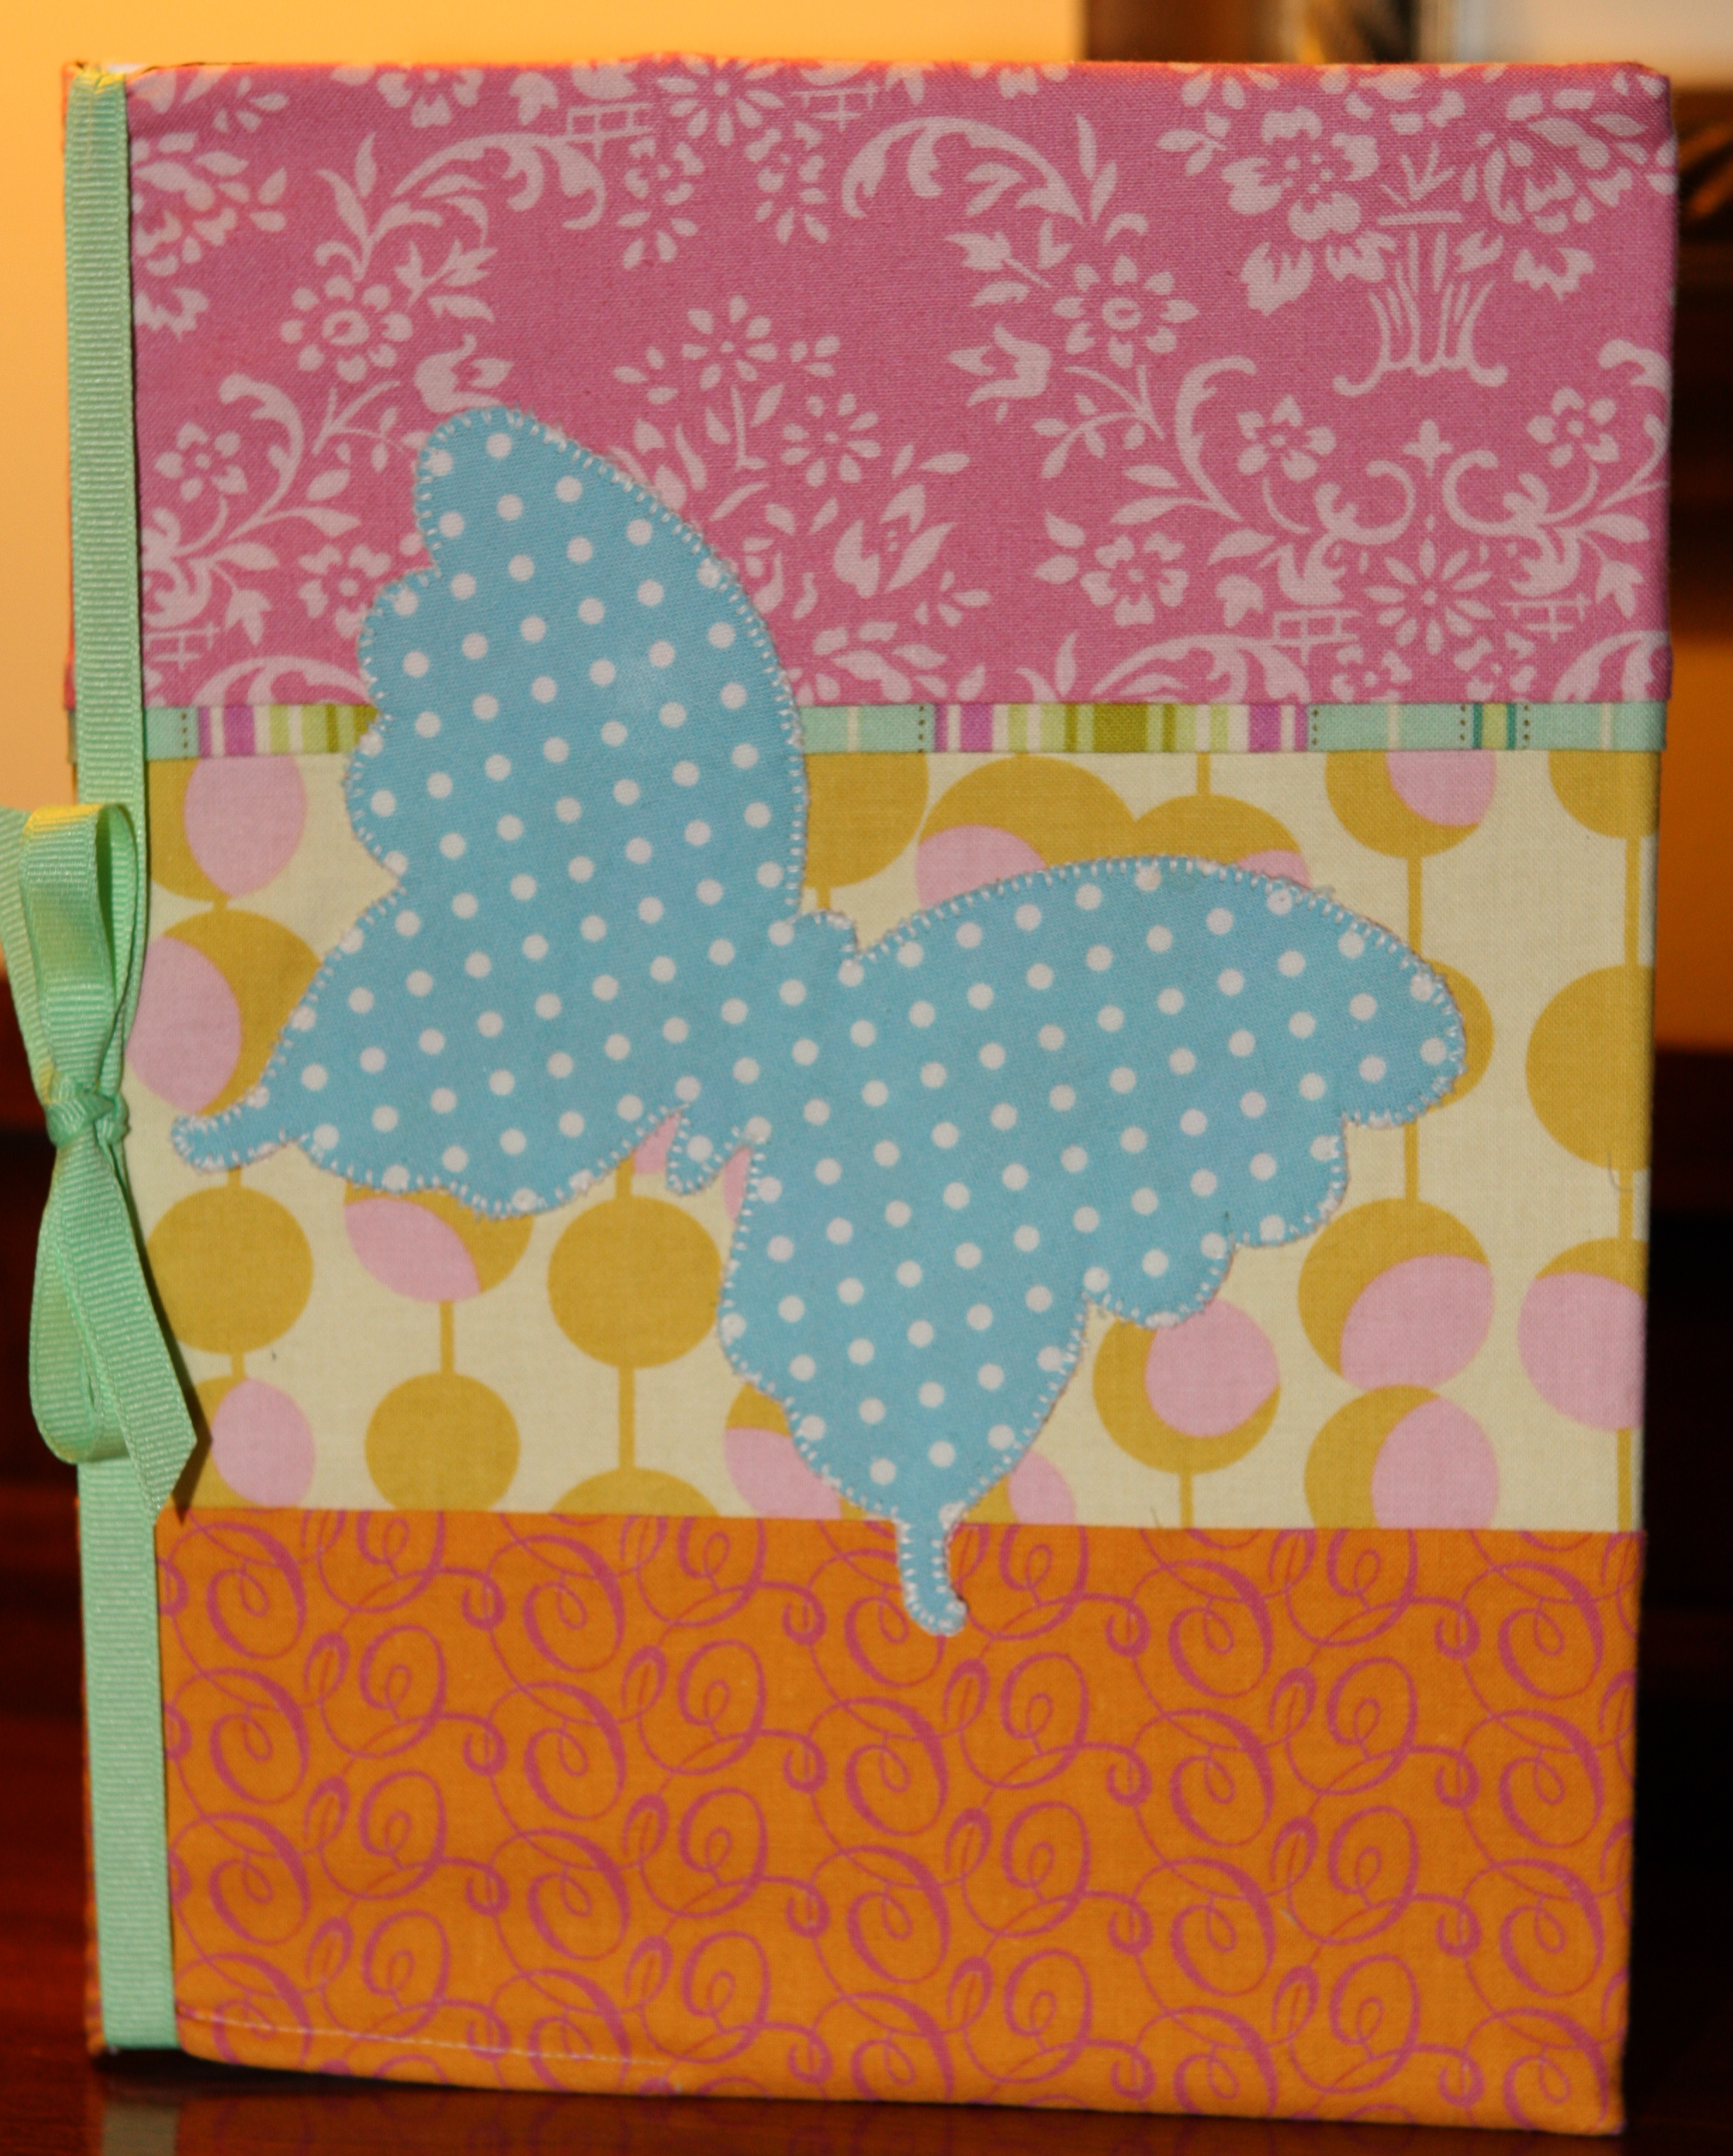
Do you remember the skirts I made for Lily and Emma out of scraps?  After they were done, I still had leftover fabric.  I couldn’t just let it go to waste.  I found the perfect way to use them when a friend showed me the handmade book covers her daughters had received as gifts.

With the end of school coming, I thought they would make the perfect gift for my kid’s wonderful teachers.

Last week, my mom and I got together to to figure out a pattern.  After a few mistakes, we finally discovered an easy method for making these darling covers.

And we had so much fun, we both have made several more since.  I decided to make one for each of my kids as a 2009 Summer Journal.

Here’s what you need to make one of your own:

  • a basic composition book (available at a Supermarket)
  • 26 1/2″ x 10 3/4″ fabric (mine was pieced)
  • 26 1/2″ x 10 3/4″ muslin or other fabric for lining
  • fabric for design… may also use rickrack, buttons, embroidery, or other embellishments
  • Wonder Under or fusible interfacing
  • 35″ ribbon

Step 1.  Choose fabric and a design.  For the butterfly above, I modified a free template from Amy Butler.  For the sail boat, I chose a template from the pattern book Baby Love by Allison Jane Smith.  There are many free templates available online.  Just be sure to choose a simple design.  Keep in mind that you will be blanket stitching around the design, so lots of little detail will make it challenging.

IMG_2619

2.  Cut fabric strips to 27″ in length.

IMG_2638

3.  Using a scant 1/4″ seam piece strips together.  Press so that all the seams go in one direction.

IMG_2643

4.  Trim so that final measurements equal 26 1/2″ x 10 3/4″.

IMG_2651

5.  Trace pattern onto Wonder Under or fusible interfacing.  One trick for tracing is to place the Wonder Under over the pattern and trace it against a bright window.  Keep in mind that you are tracing the back side of the image (the finished product will be reversed.)

IMG_2654

6. Press Wonder Under to back of fabric for design.

IMG_2658

7.  Carefully cut out design.

8.  Fold pieced top in half lengthwise.  Place composition book binding against the fold as a guide and center design.  Pin design into place.

IMG_2669

9.  Blanket stitch or zigzag around design.  Sew on any other embellishments such as buttons at this time.  You could also embroidery a message or design.

10.  With right sides together, pin together the width ends of backing and pieced top.

IMG_2677

11.  Stitch together width ends.

12.  Turn right side out and press.

IMG_2690

13.  Fold in half and place composition book in place as a guide.  Wrap the flaps around inside of book.  Mark the fold of flap.  Remove composition book and pin flaps to backing but not to front.

IMG_2693

14.  Being careful not to disturb the pins (or poke yourself!) turn so right sides are together again.

15. Using a 1/4″ seam stitch along the entire top.  Stitch bottom as far as the flaps on each side, but leave the middle open to turn.

IMG_2695

16.  Using a chopstick turn right side out.

17.  Stitch the opening closed, making sure to match the thread to the fabric front.

18.  Insert book and tie with ribbon.

IMG_2888

Summer Journal for Ben

These fabric covers make a great gift.  I am so happy, because my mom made one for me.  Maybe I will finally start keeping a journal so I don’t forget all the funny and sweet things my kids say and do.

If you have any questions about the tutorial, don’t hesitate to leave a comment.  Happy sewing.

Archives


Virtual Quilting Bee