Hi, I’m Calli
Welcome! If you enjoy your visit, be sure to follow me:
Oh My Stars!
Canning Day Quilt

Posts Tagged ‘picnic napkins’

Picnic Basket Part 1: Napkin Flatware Rolls

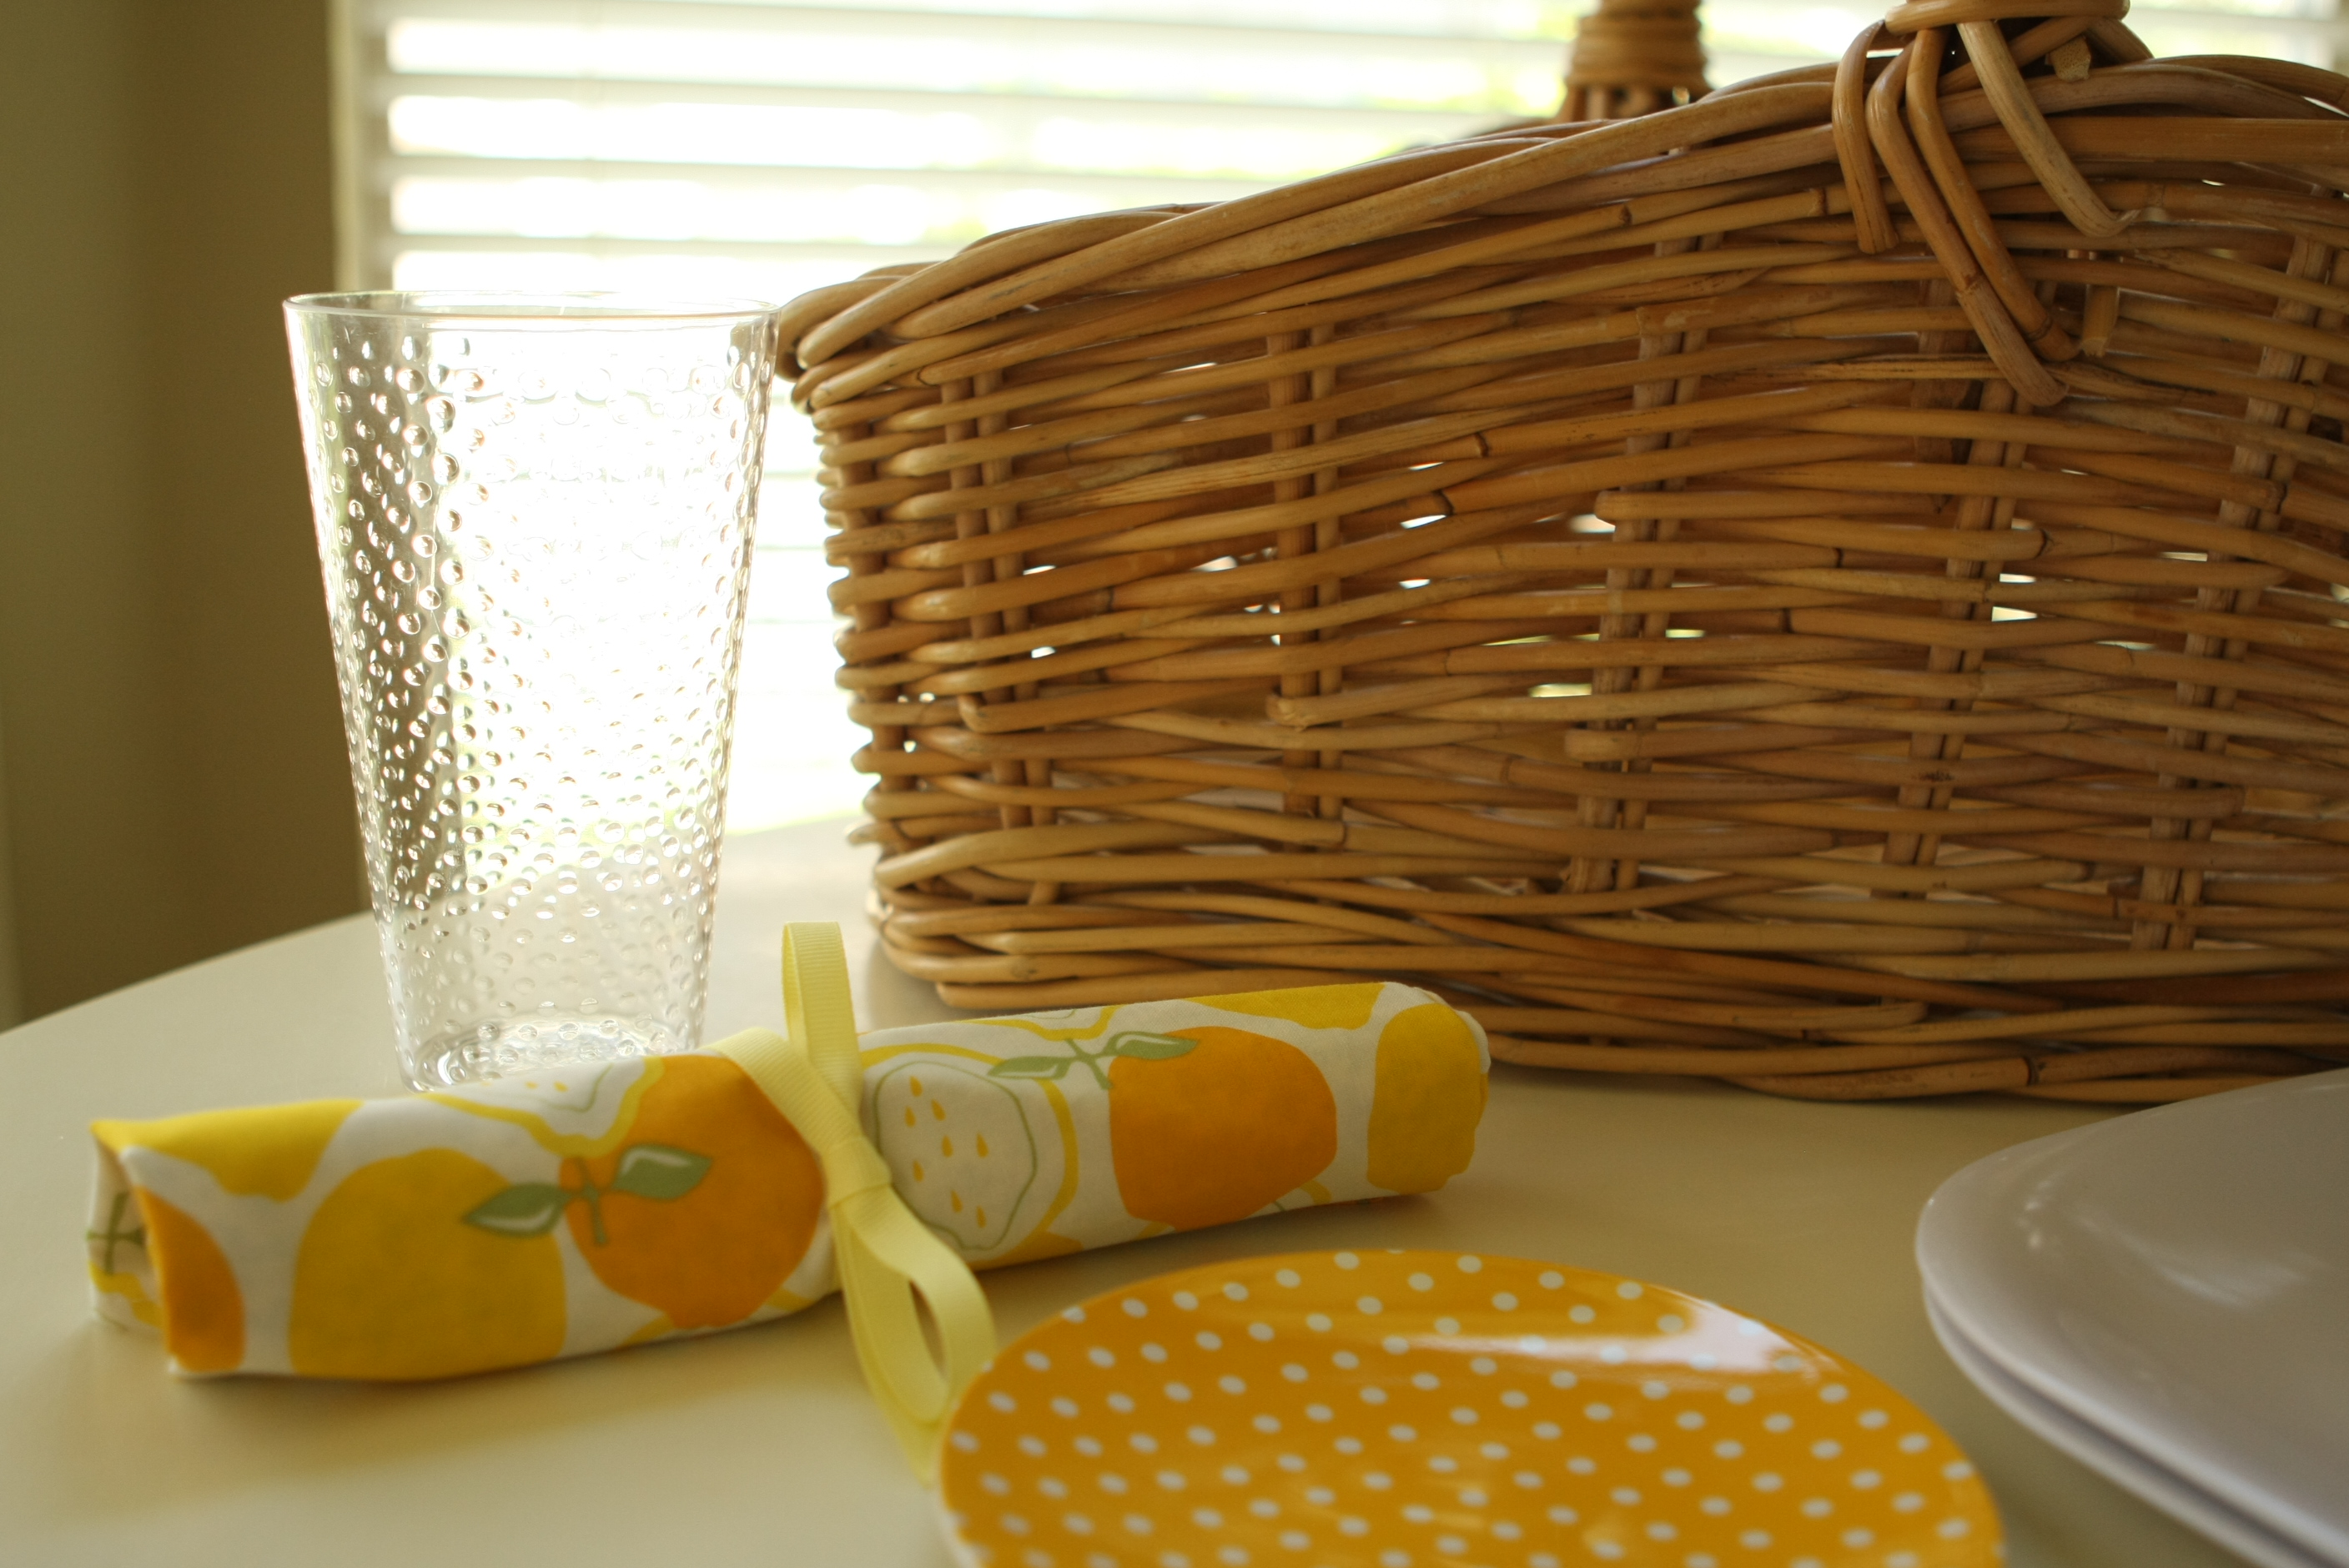
It’s Picnic Week at Make it Do.  I’ve got some fun projects and recipes I can’t wait to share.

Our family loves going on a picnic.  So this year, I decided it was time to invest in a set of Melamine plates, instead of continuing to use wasteful disposable plates.  At only $2 per plate from Target, I’ll recoup my cost fairly quickly this Summer and save money and resources in the long run.

One of the things I love about melamine is how well it lasts.  My mom received melamine plates from Target several years ago, and despite frequent use, they still look wonderful.  And unlike some plastics, melamine is considered safe as long as it’s not heated.  It’s best to hand wash, and never put it in the microwave.

To go along with my new plates, I decided to sew napkins for “on the go”.

To give the napkins more function, I created a napkin roll, perfect for carrying an individual set of flatware.

Here’s what you need to make 6 napkin rolls:

  • 1 1/2 yards of top fabric
  • 1 1/2 yards of back fabric
  • 12′ of grosgrain ribbon of choice
  • disappearing fabric marking pen

Start by cutting your top and backing fabrics into 18″ x 16″ rectangles.  I got 6 rectangles of each fabric from 1 1/2 yards of fabric.

Cut two lengths of ribbon 12″.   Take the two cut ribbon and lay one on top of the other, then center them on the back fabric (right side up) along the left long (18″) edge of fabric.  Though it’s hard to tell from the picture, there are 2 pieces of ribbon above.  Pin into place.

Lay the top fabric into place on top, right sides together, and pin into place.

Using a 1/4″ seam, stitch all the way around, leaving a small opening to turn.

Clip the corners.

And turn right side out.

I love using a chopstick to give it nice, crisp seams.

Once turned, press well.

Stitch all the way around the napkin, using a scant 1/4″ seam.  This gives it a finished look and closes the opening.

With backing fabric facing up and the ribbon on the left side.  Fold the bottom of the fabric up about half way.  If you have your flatware handy, test to make sure it’s a good fit.  Pin into place.  Stitching on top of previous the seam, stitch into place.  Be sure to back stitch at the top.

1 1/2″ from the seam, mark a line for the first flatware pocket with your fabric marking pen.  Measuring from that line, mark again 1 1/2″ over.  And 1 1/2″ over again.  You should have three lines.

Stitch down the marked lines.  Be sure to back stitch each time at the top.

A little spray and press, and the Mark B Gone is gone.

Cut the ends of your ribbon at a diagonal.  Seal the ends of your ribbon with a flame or use Fray Check.

And you are done.  Just add your flatware.

Fold the top down over the flatware.

And roll ’em on up.

This project can be easily made out of an existing napkin or even a dishcloth, simply add the ribbon and the fold with pockets.

Now if the sun would cooperate and shine… we’re almost ready for a picnic.

Be sure to check back this week for more picnic fun… without the ants.


Archives


Virtual Quilting Bee