Posts Tagged ‘mending jeans’
Make Do and Mend: Patching a Knee
 I have been thinking of writing a series of posts on mending for a while. Last year, I wrote about how to mend jeans with a rip in the rear… that really rolls off the tongue…. which was practical, but not at all stylish.
For those mending projects I don’t have a clue on- such as darning a sock or mending a sweater, I want to find an expert who will show me (and you) how. If you think a series like this would be useful to you, let me know what mending jobs trouble you…
For the first in my series of Make Do and Mend, I was inspired by a friend:
Last spring, Amy of Diary of a Quilter shared a tutorial on how to mend a torn out knee. I asked Amy if I could show her technique, which is cute as well as practical. Amy told me that her daughter’s mended jeans are still going strong, the patch is perfectly in place, and they are one of her favorite pair.
Here’s how to mend a hole in the knee:
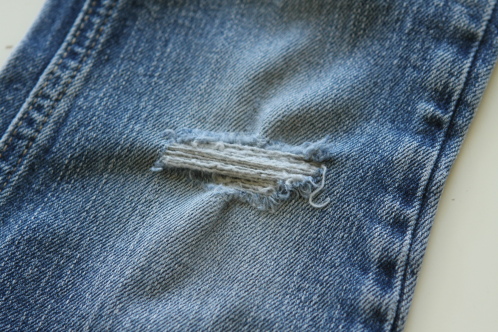 You’re going to need jeans with a hole in the knee, of course.
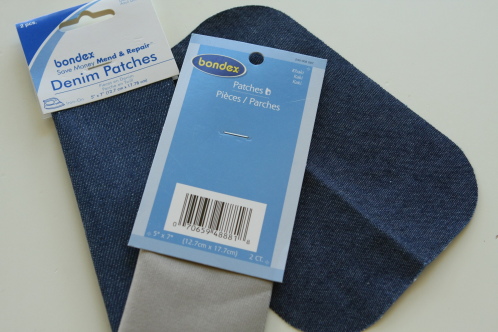 Iron on patches are widely available. I picked these up a my local Walmart. If you’ve ever used these before, you’ll find out the hard way, that they don’t stay on long when you just iron them on.
That’s OK. This technique will make them much more permanent and stylish too.
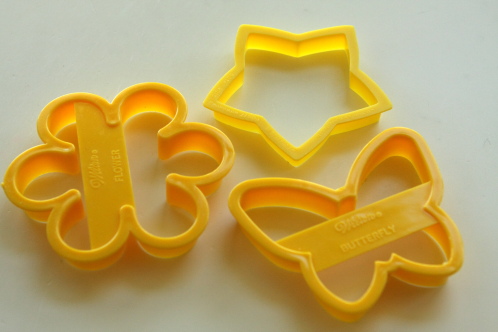 You can use just about anything as a template. But today, I am using cookie cutters. They have simple lines, and are the perfect size. You can also find many templates online too. I found a skull template on Martha Stewart that I am modifying to mend my son’s jeans.
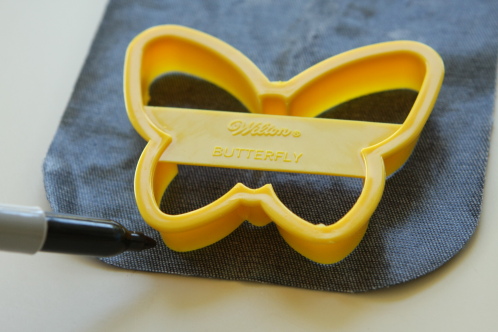 I traced around the butterfly on the back side of my patch using a Sharpie. This may shock a few of you, but I tried pencil, and a Mark B Gone pen and they just didn’t show up. The Sharpie worked great, I was just careful to cut inside the line of black. You could use a white fabric marking pencil, but I couldn’t find mine. –Do what you can with what you have, I guess.
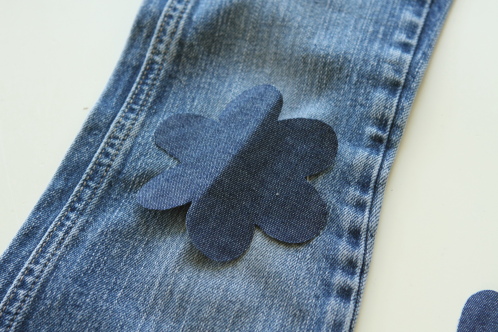 I also cut out a flower for a different pair. This one I embellished with another fabric too.
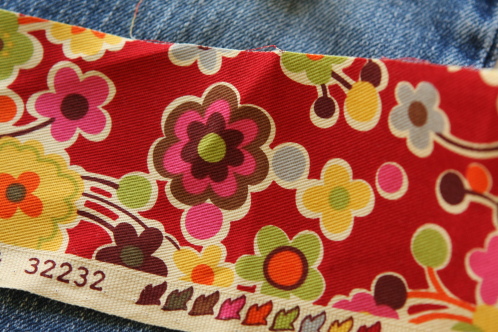 I had a scrap of fabric with a perfect flower.
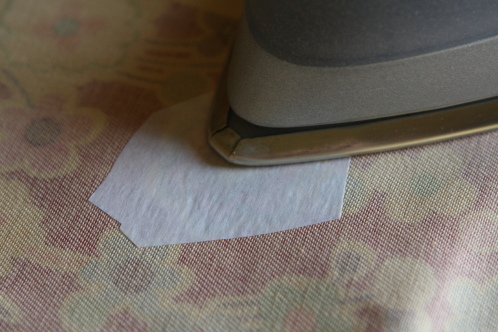 I used a small bit of Wonder Under on the back side of my chosen flower. Iron it on.
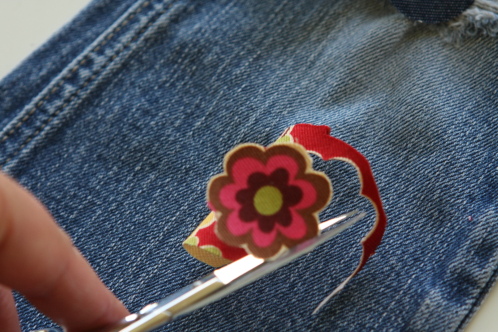 Then cut around the flower. The Wonder Under isn’t strictly necessary for a piece this small. It’s peace of mind that it won’t fall off. Peel off the paper backing…
 DON’T try to iron it onto your patch yet! Your patch will get sticky on the back, and be stuck to your ironing board. (No, I didn’t do that… but I wouldn’t put it past me.)
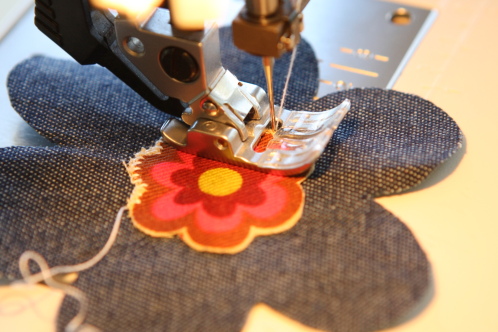
Stitch your embellishment onto your cut patch using a blanket stitch or a zigzag.
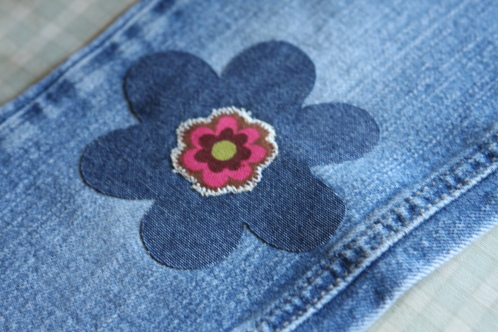 Now you can iron the whole thing over the hole in your jeans.
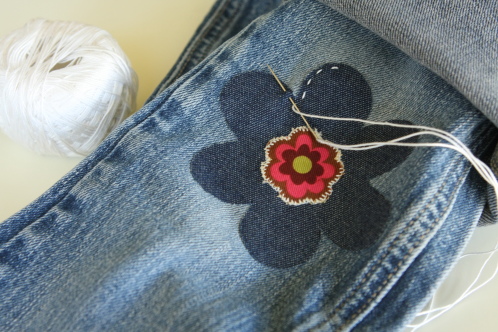 Just as Amy suggests, I rolled the jeans up, to make the sewing easier. Also just like Amy, I used a heavier weight- DMC thread, a heavy needle…
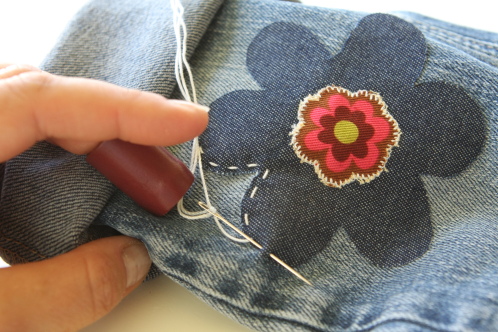 and a thimble to stitch around the flower. I kept my needle working from the top as shown. It’s a little tough to sew through the denims, but not too bad.
 And the jeans are done. This patch is as cute as can be. Because it’s been stitched, it’s not going to fall off anytime soon.
My daughters think they look super cool… and won’t feel embarrassed to wear clothes that have been mended.
Mending is good for your pocket book… and environmental, too.
Wear it out…
 I guess ripping the rear end of your jeans isn’t a new thing. What’s new is throwing those ripped jeans in the trash can. My grandmother would cringe if she knew some of the things I used to throw away.
But these days, I am learning to “Make it Do” and that means learning to mend.
Mending is not only good for your pocket book, it’s also good for the environment.
Here’s a few tips on how to mend jeans:
Just like in to picture above, my husband ripped his jeans right along the back pocket.
I bought a few patches at Walmart. (They come in several different colors.)
I trimmed off all the frayed edges.
I cut a patch to fit over the rip, carefully lined up the torn edges and ironed the patch into place.
Use a color of thread that closely matches the color of your garment. Zigzag over the seam to secure it into place. (Otherwise the patch will eventually fall off.)
These pants look pretty darn good. I don’t think he will be wearing them out on the town any more… but he will definitely be wearing them to work in the yard or camping or even when he goes out shooting trap with his buddies.
This is just a basic mending job… but what about getting creative? You can turn pants with torn knees into shorts, or make them stylish by patching them with a wonderful fabric. Take a look back at my post about turning a plain tee shirt into something fancy… that same technique can be used to hide a patch or even a stain. It’s very satisfying to rescue something that was on it’s way to the garbage. And I bet my grandma would be proud of me.
Use it up, Wear it out, Make it Do, or Do without.


