Hi, I’m Calli
Welcome! If you enjoy your visit, be sure to follow me:
Oh My Stars!
Canning Day Quilt

Posts Tagged ‘making pie crusts’

Perfect Pie Crust Tutorial

Perfect Pie Crust Tutorial

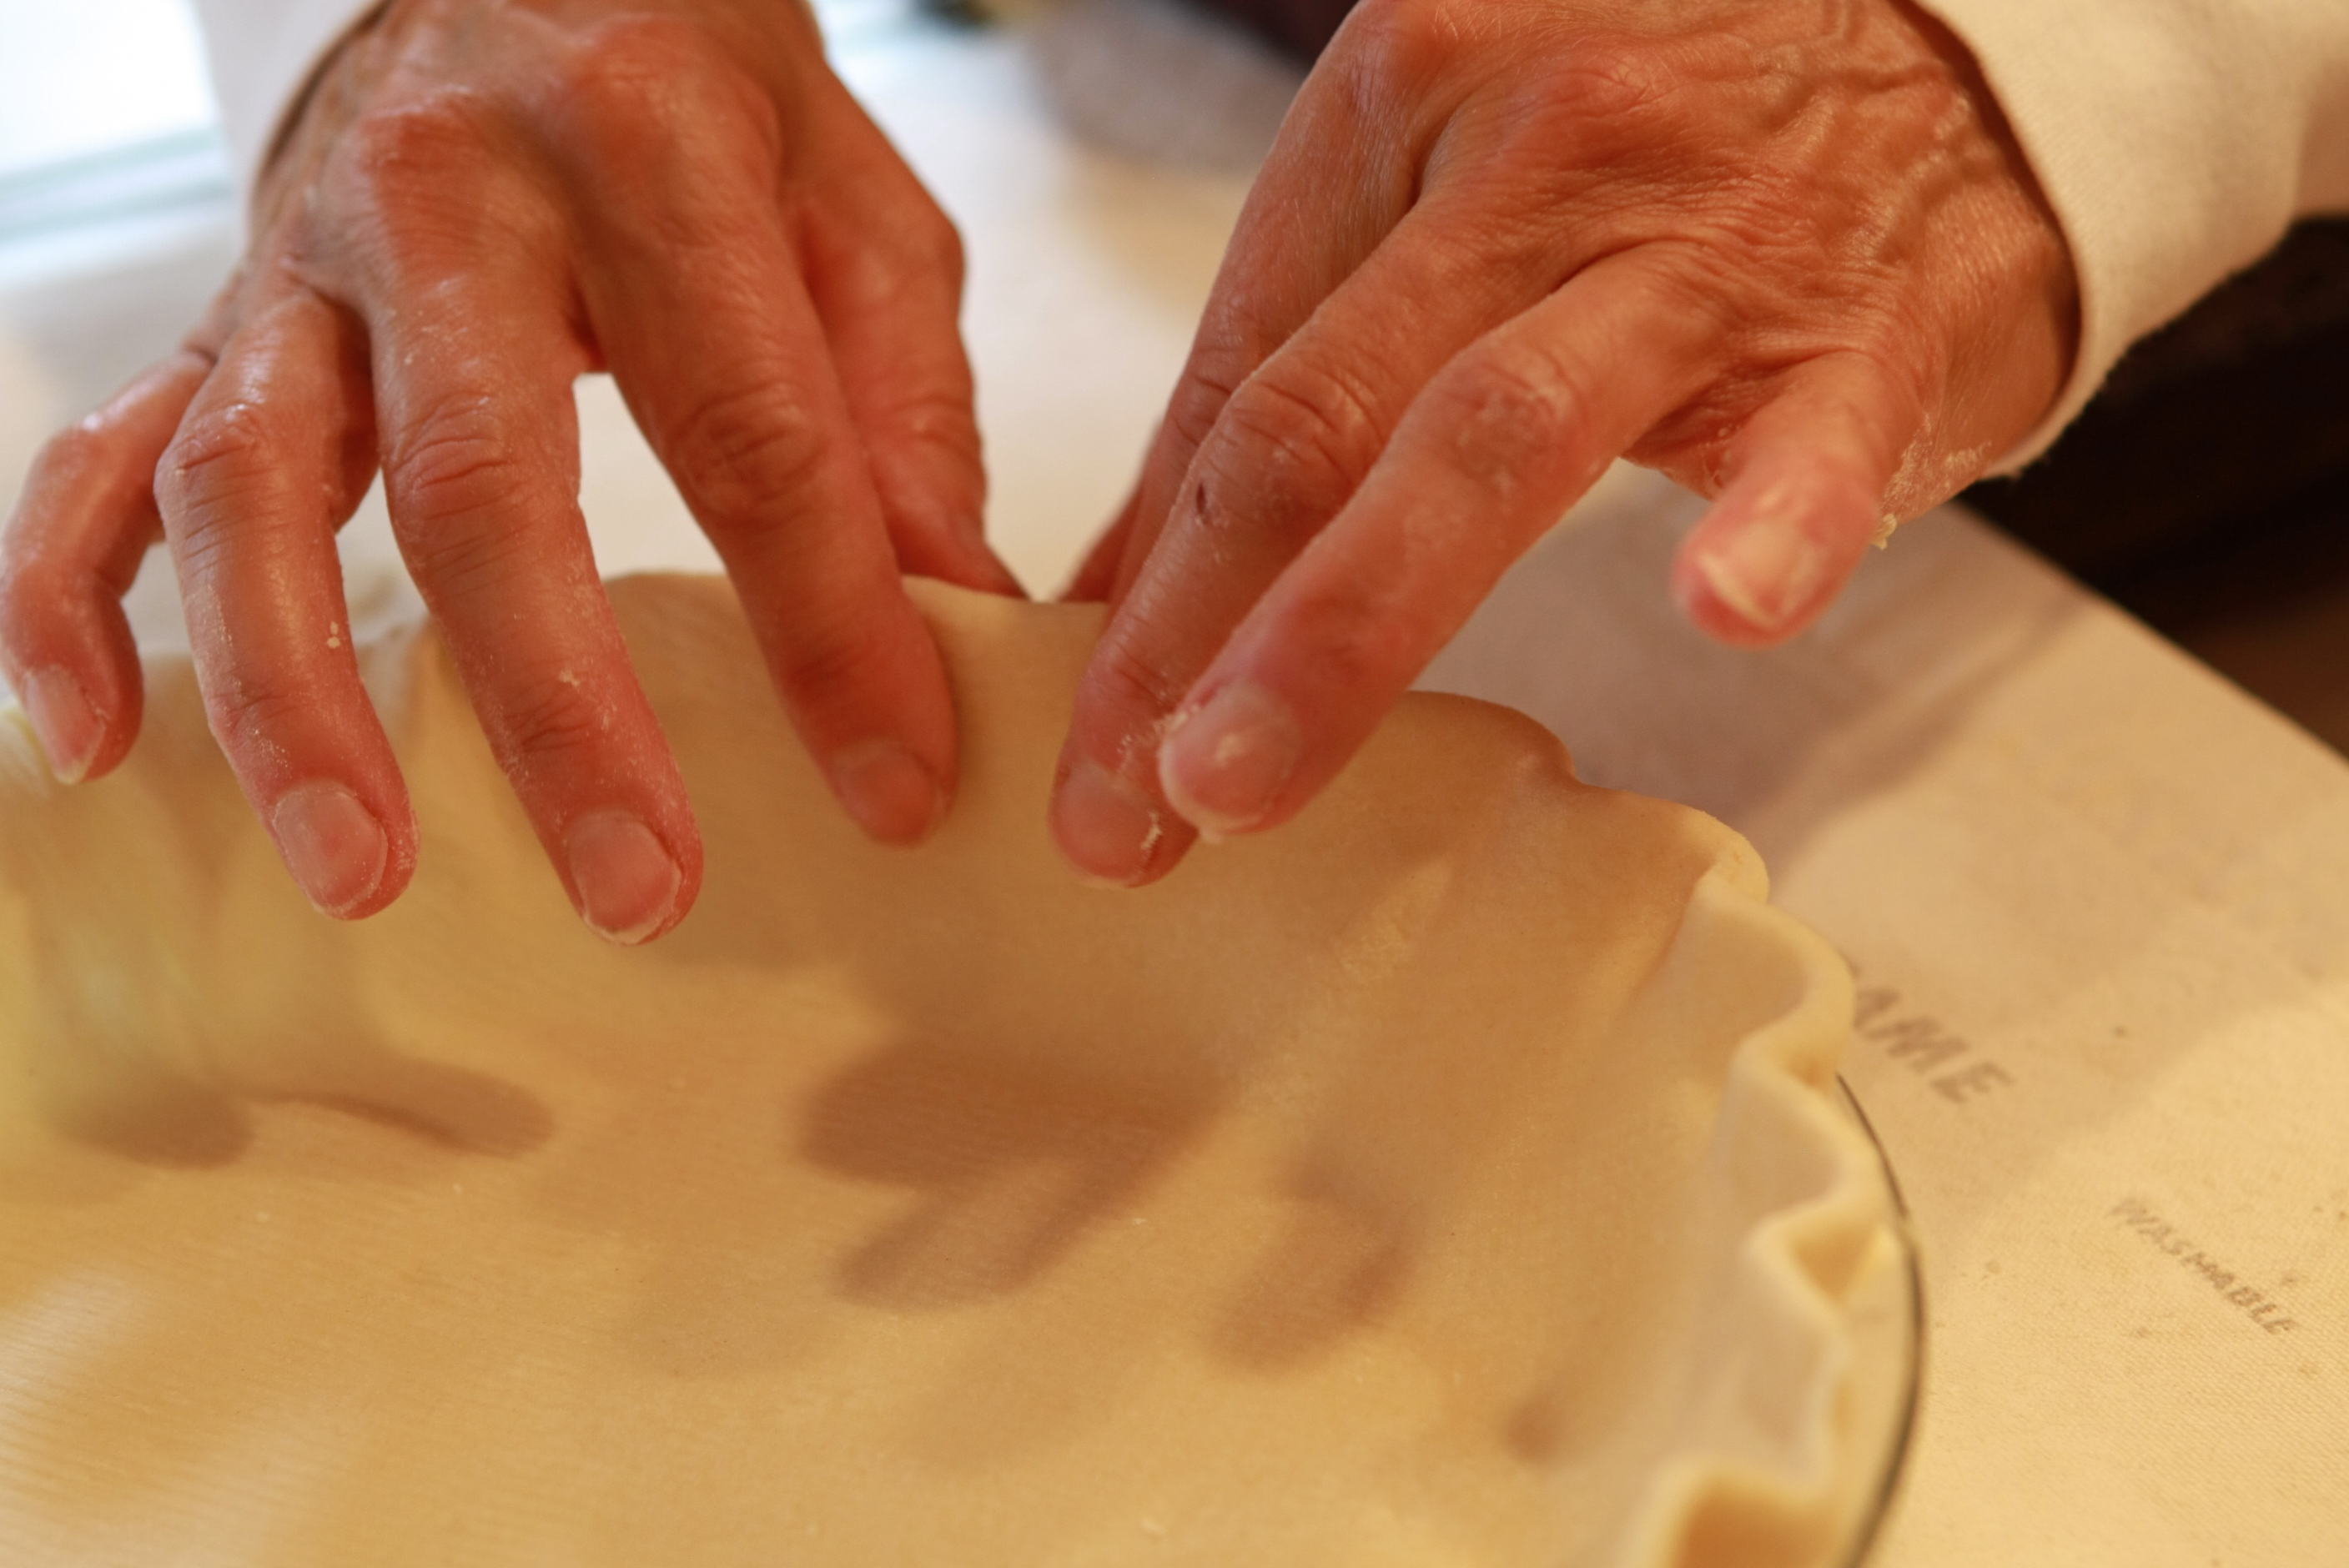
My Mom learned to bake her pie crusts 40 years ago.  Her mother had passed away and my Mom needed to step up and take over the tradition of hosting Thanksgiving dinner for her family of 7 brothers.

My Mom was lucky enough to have a neighbor who was kind of like a local Julia Child.  She generously invited my Mom to her home and taught her to make rolls, pie crusts… and how to put on a Thanksgiving dinner.

Over the years my Mom has made hundreds of pies.  Some years she has hosted as many as 60 people for Thanksgiving dinner.  And every year she makes all the pies from scratch, fresh on Thanksgiving morning.  She loves Thanksgiving and takes genuine pleasure in baking all those pies.  I have fond childhood memories of helping my Mom flute the edges of the pie crust, gathering the scraps to make cinnamon crusts, and stirring the many fillings.  Every year she makes pumpkin, pecan, chocolate pecan, apple, lemon and banana cream pies.

Yesterday I spent a few hours with my Mom learning her secrets to her perfect, delicious, flaky pie crust.

IMG_8062

Measure 2 cups of flour and sift onto a piece of parchment or wax paper.

IMG_8072

Remeasure two cups of the sifted flour.  I loved how my Mom simply lifted the parchment paper and used it like a funnel.  She also remeasured right over the surface where she would be rolling out the dough, so any over spill of flour is used to powder the surface.

IMG_8074

Using the back side of a knife, tap across the measuring cup to make sure it is full,  then level.  Again the over spill goes right onto the surface where she will be rolling out the dough.  My Mom is all about economy of action.

IMG_8075

4.  Spread out the flour over your work surface.  My Mom loves and uses a Pastry Frame to roll out her crusts.  You can do it on a large cutting board or directly on a clean counter if you don’t have a pastry frame.

IMG_8080

5.  Sift the 2 cups of flour again with between 1/2  teaspoon to 1 teaspoon of salt, depending on how salty you like your pie crust.  My mom always uses 1 teaspoon.  I use a little less.

IMG_8083

Now add 2/3 cup cold lard.  My mom measures out the lard before starting and puts it into the freezer to make it extra cold.

Now before you go and get squirmy on me about the use of lard… just remember that you’ll never think about it for a second when you are eating your scrumptious pie.  Two of the best pie makers I know (my Mom and my husband’s late Grandmother Eva) would never dream of making a pie with anything but lard…. and the results are in the crust.  Totally delicious.  That’s good enough for me.

IMG_8089

Cut the lard into the flour mixture using a pastry cutter.  My Mom has tried making this step faster by using a Cuisinart and I am sorry to say there is no substitute for good old fashioned hard work.  She didn’t like the results of the crust in the Cuisinart… not as flaky.  I’ve shown the next picture to illustrate the motion of using the pastry cutter.  You press down as in the picture above…

IMG_8090

And twist the cutter, like so.  Continue with this motion until the lard is well incorporated into the flour.

IMG_8095

The mixture should look like this.

IMG_8099

Next add very cold milk, one tablespoon at a time…

IMG_8105

Work the mixture with a fork until it all pulls together.  (Usually 3- 4 tablespoons of milk.)

IMG_8110

Turn the dough out onto that handy piece of parchment you used before.

IMG_8111

Pull the sides of the parchment up and squeeze the dough into a nice ball.

IMG_8112

Just like so.  Then cut your ball in half.  You can either make one pie crust with a top.  Or two pie crusts.

IMG_8114

Lightly form the two smaller balls into a round disk.

IMG_8116

And roll out.  My mom prefers a thin pie crust… as do I.  Instead of rolling in different directions, my Mom turns the whole crust as she rolls in the beginning, so that she was mainly rolling front to back.  This keeps the crust from sticking to the board.  Add flour if it starts sticking.  Once it’s big enough, she doesn’t turn the dough any longer but continues to roll till it reaches desired size and thickness.

IMG_8124

Roll the dough over the rolling pin, and gently lift it into the pie plate.  My Mom prefers a glass Pyrex pie plate, or a good old metal pie tin.  She splurged once on an expensive Le Creuset pie plate, but didn’t like it as well.  The crusts didn’t brown as nicely.

IMG_8128

Fit the crust nicely into the pie plate.

IMG_8134

Using kitchen scissors or a knife, cut off the excess crust, leaving a little less than an inch overhanging the edge of the pie tin.

IMG_8139

Now work your way around, pinching the edge of the crust up and a fold around the pie, fluting as you see.

IMG_8160

Voile, this crust is done.  My Mom’s advice is practice makes perfect.  The more pies you make, the better and prettier your crusts will be… until it becomes easy.

For a cream pie: pierce crust all over with a fork, and pre-bake at 400 degrees for 12- 15 minutes until golden. (She does not bother with pie weights, and has never seen the need.

Or fill with your favorite filling and bake.

Tomorrow I will be sharing the recipe for one of my favorite pies of all time, a Chocolate Pecan Pie.  My mom and I made it yesterday and oh my, I might eat the whole pie myself!

Here’s her recipe for perfect pie crust:

  • 2 cup sifted flour
  • 2/3 cup lard
  • 1/2 – 1 teaspoon salt
  • 3-4 Tablespoons cold milk
Archives


Virtual Quilting Bee