Hi, I’m Calli
Welcome! If you enjoy your visit, be sure to follow me:
Oh My Stars!
Canning Day Quilt

Posts Tagged ‘felt shamrock pin’

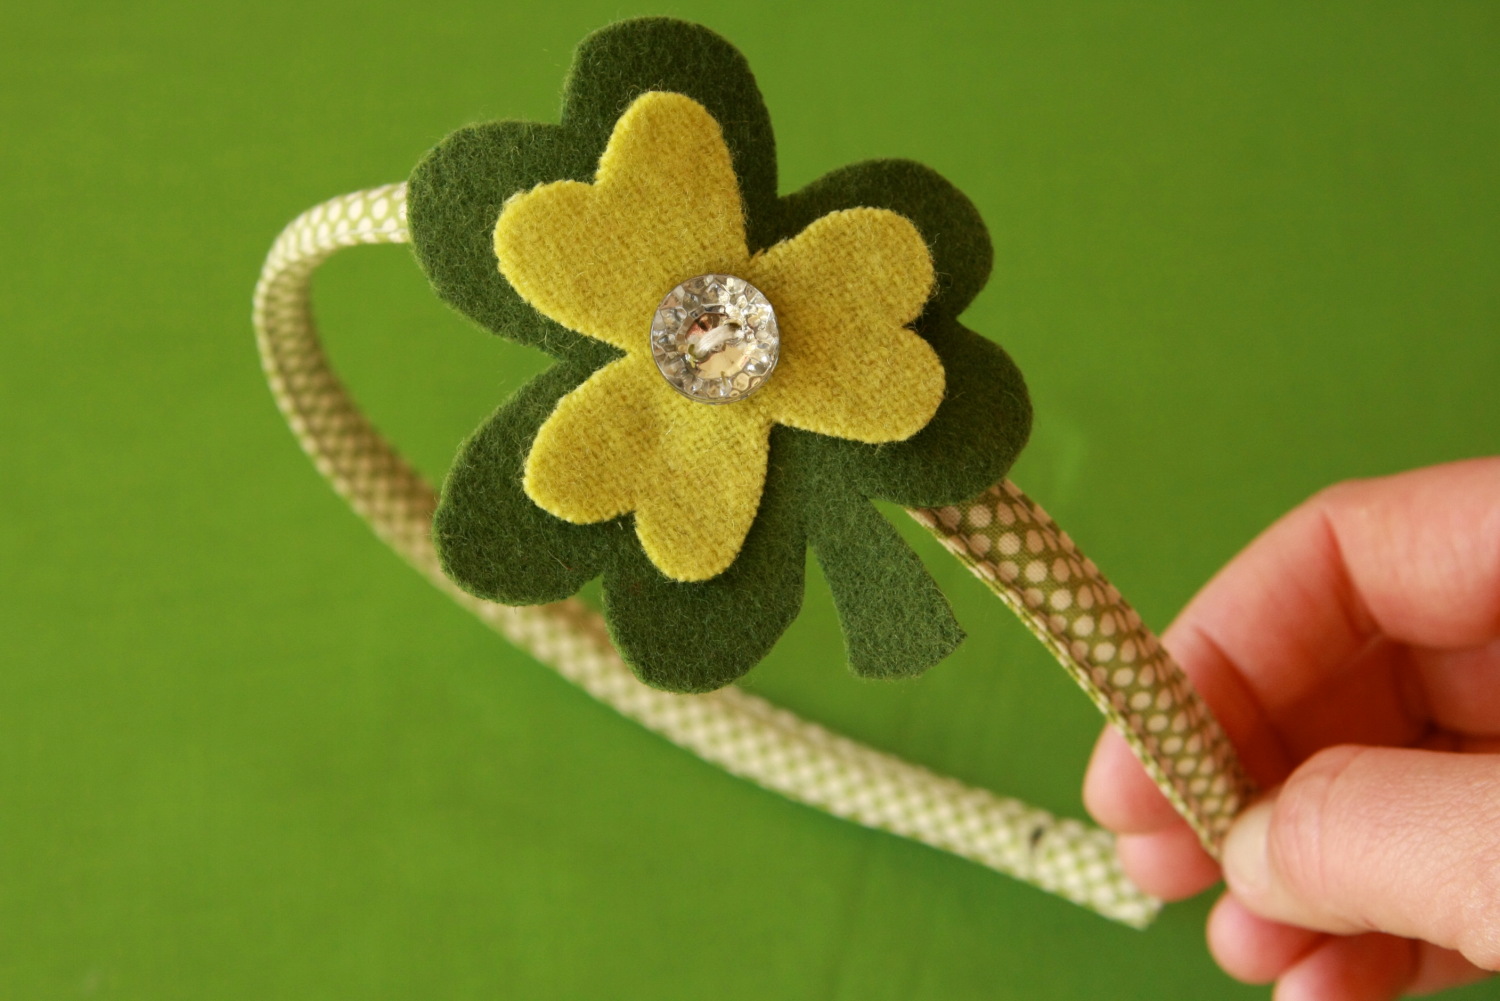
Shamrock Pin for a Headband… and more

Top of the Mornin’ to ya.  First off I wanted to thank you all for your encouraging words in response to yesterday’s post.  Even though I had determined myself not to let criticism bother me… your support really lifted my spirits.  Thank you.

Now to a bit of St. Paddy’s Day fun.

After I finish a project, I’m always amazed where it ends up.  Usually far from where I intended.  Take this headband for example.  I was playing with creating a pin for my upcoming sewing class I’m teaching at 0ur local elementary school.  I wanted something simple and easy that the young kids could stitch.

I ended up with a headband.  Go figure.

This tutorial is in two parts.  The first is for making the felt shamrock… and the next (to be posted later) is for making a headband cover… suitable for any occasion.

Here’s how to make my shamrock pin:

You will need:

  • A small piece of green felt and a small piece of lighter green felt (mine is chartreuse).
  • A 1/2″ button
  • Freezer paper
  • Hot glue or craft glue

Yes, I’m using my freezer paper- again.  Trace your patterns onto the paper side of your freezer paper.  I’ve used a darker felt for the large shamrock and a chartreuse green for the smaller shamrock.  All my felt is from scraps of course.  Just an FYI, some quilt shops will sell wool felt scraps by weight.

You can find my simple template for the shamrock here.

Cut out the template from the freezer paper and iron it on to your piece of felt.  Make sure the waxy side is down when ironing.  The freezer paper will stick to the felt.

Carefully cut out your shamrock along the template.  After it’s cut out, peel away your freezer paper.  It leaves no mark on your wool.  Pretty cool huh.

Cut a small rectangle 1/2″ x 1″ out of the darker green felt.

Place the rectangle onto the back of your shamrock.  I placed my smaller shamrock over the top to make sure it was going to cover my stitching completely once done.

Once the strip is well placed, stitch into place on both sides using a tight zigzag stitch.  Leave the top and bottom open to allow it to slip onto the headband.

Next center your button into your chartreuse shamrock.  Stitch into place by hand or on your machine if you have a button mode.  I used a 1/2″ crystal looking button purchased from JoAnn’s.

Using hot glue (if you’re impatient like me) or craft glue, glue the bottom shamrock to the top chartreuse shamrock.

And now it’s ready to slip onto the headband.  Why make it removeable?  So that my cute little headband can be worn all year round of course!  I can even make a flower pin out of felt or ribbon to slip onto the headband…

It also makes my shamrock flexible too.  I can slip it onto a hair clip.  Or put a safety pin on the back and wear it as a pin.

I love the flexibility.

I will be posting my headband tutorial this afternoon… so stay tuned.

Archives


Virtual Quilting Bee