Hi, I’m Calli
Welcome! If you enjoy your visit, be sure to follow me:
Oh My Stars!
Canning Day Quilt

Posts Tagged ‘canning peaches’

The Best Way to Can Peaches

IMG_6291

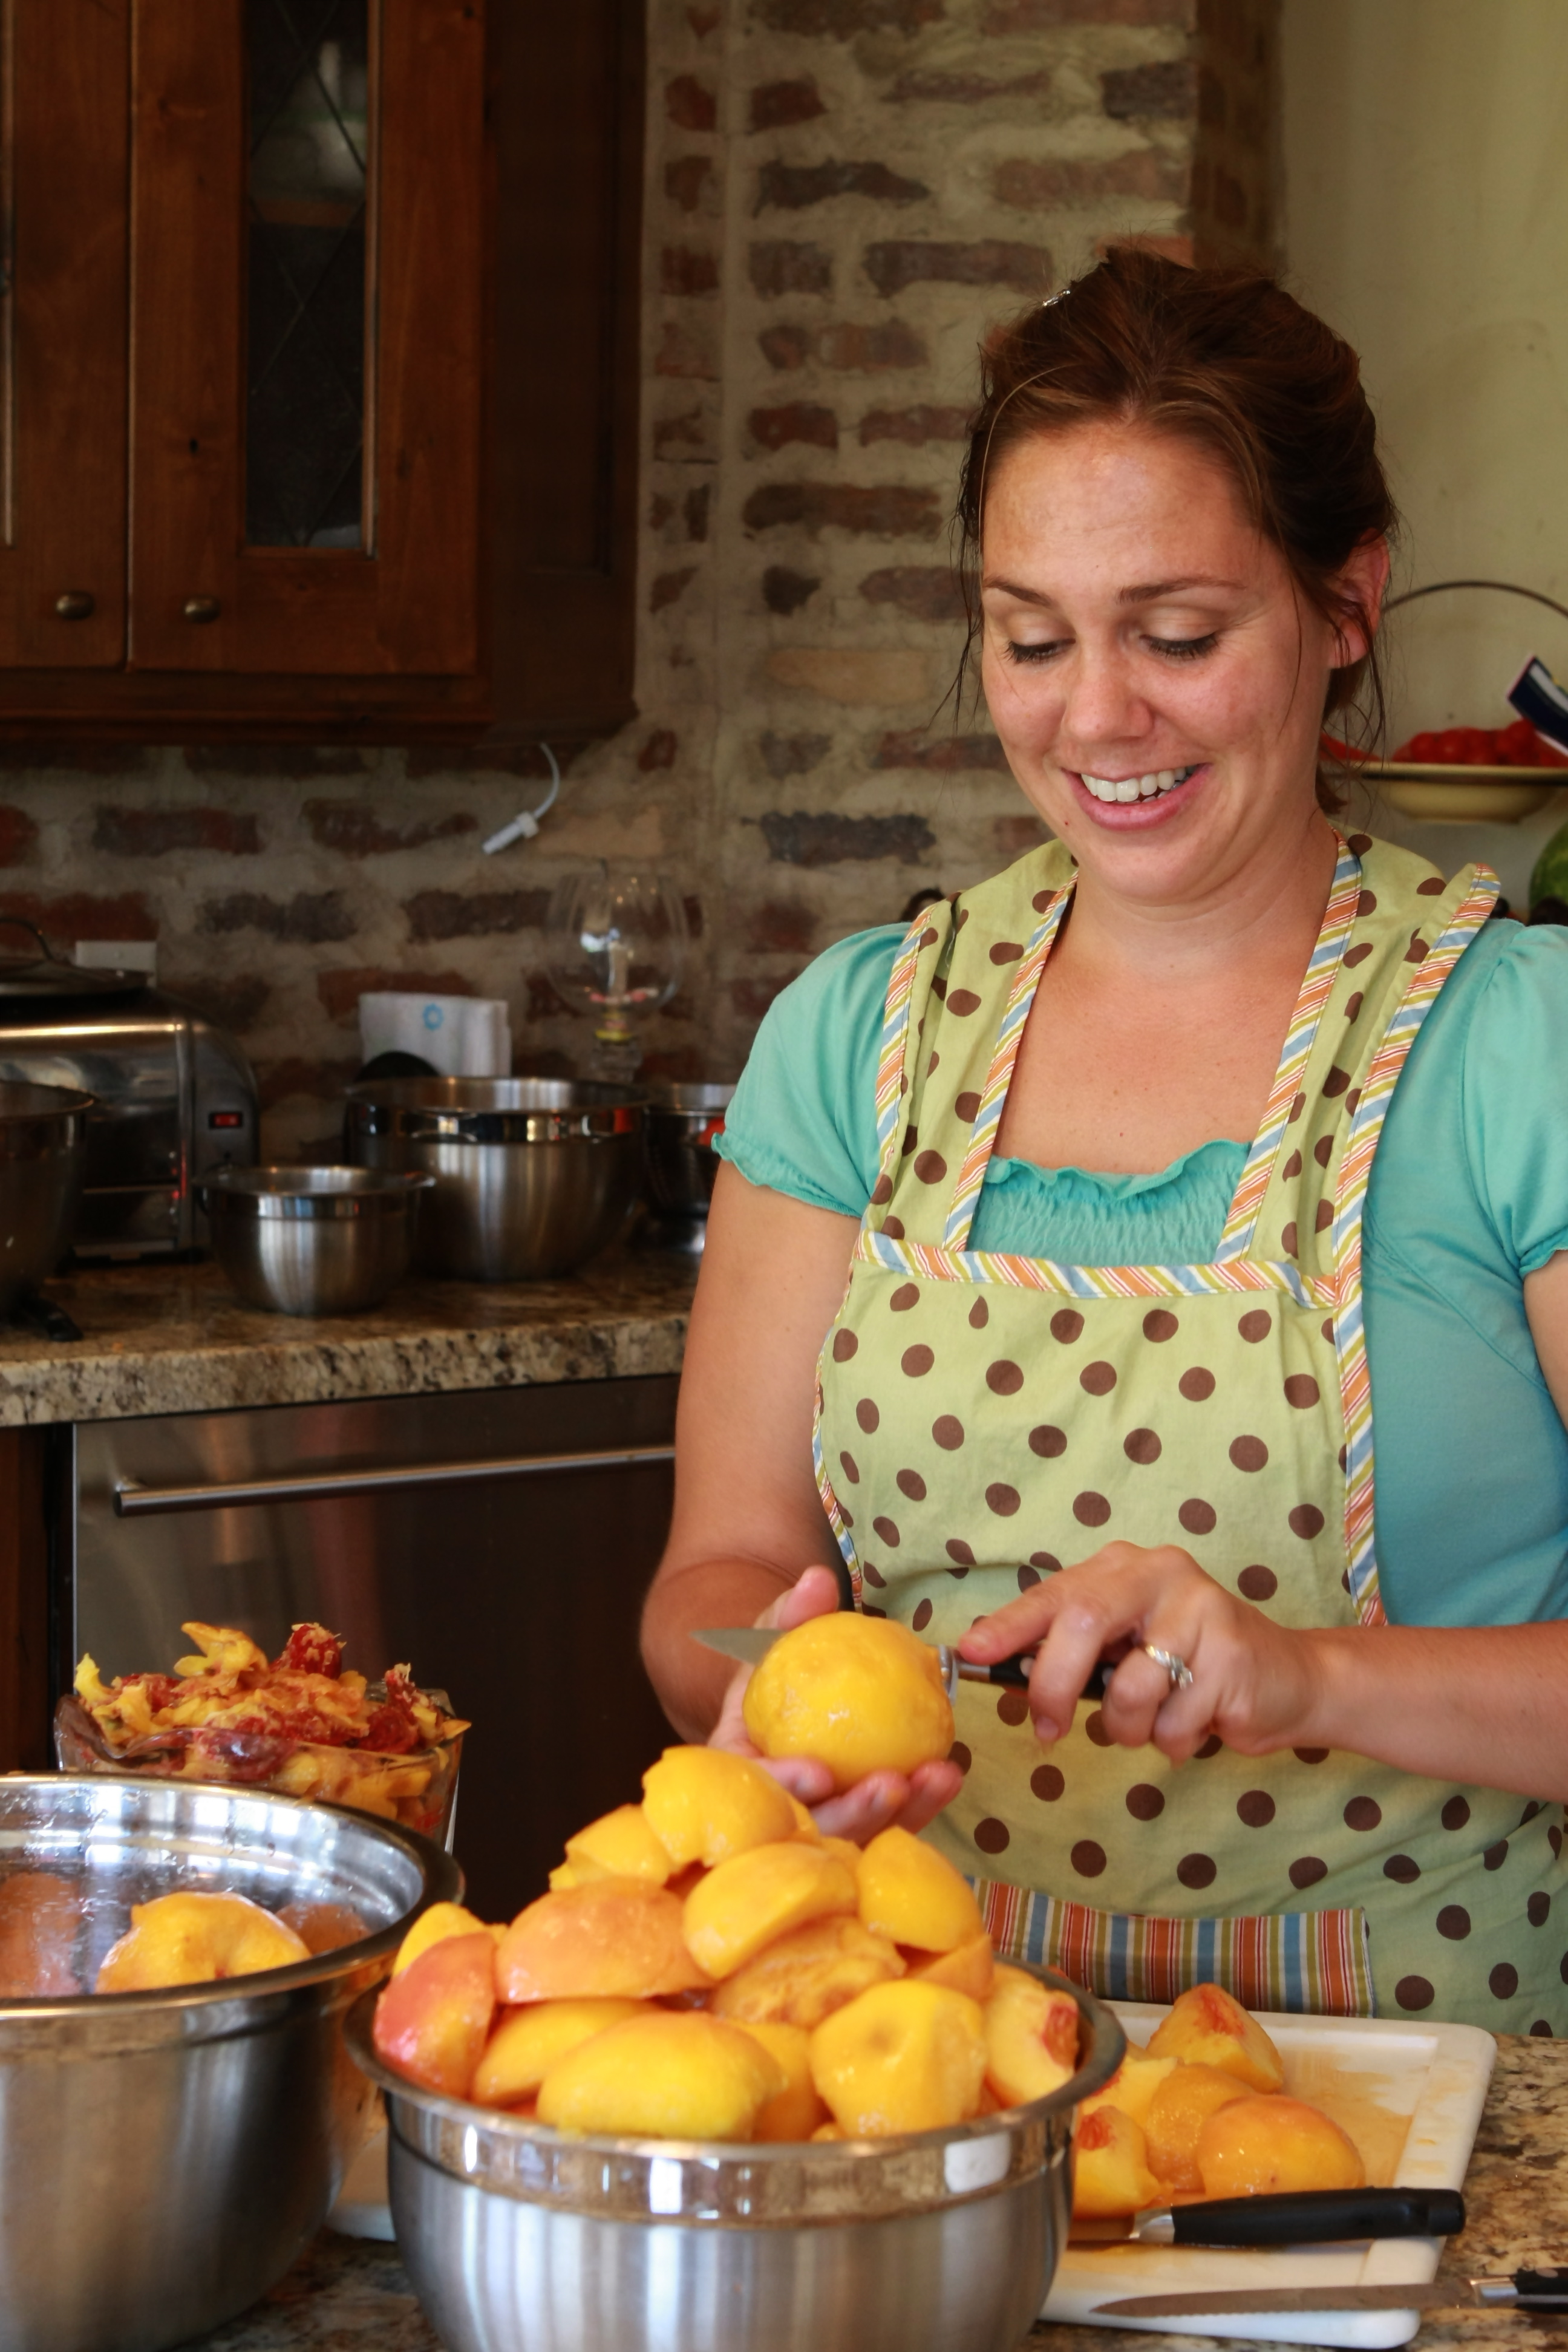
The best way to can peaches is with a friend.

Every year my dear friend Kate and I get together to can peaches and then wonderful applesauce later in the Fall.   And in the case of canning, two is definitely better than one.  We have so much fun together that it hardly even seems like work.

Kate is a riot to be around.  She is smart, lively and very funny.  One of the things I love most about Kate is, in the almost 7 years since I’ve known her, I have never heard her say a bad word about anyone.  Isn’t that amazing.  Maybe that’s one of the reasons I love hanging out with her so much.

Today we were canning Harmony Peaches:

IMG_6294

We love to can this variety because of their rosy glow.  They are also a free stone peach which is a must for canning.  And they have great flavor and hold up beautifully in a can.

1.  We start by putting our jars and rings into a dishwasher on the sterilize setting.  If you don’t have a dishwasher, you can easily place your jars in your boiling water canner and bring the water to a boil for 10 minutes.  We leave them in the dishwasher until we’re ready to use them… because you want them to be hot.

2.  Place the lids in a small saucepan and heat to a simmer, but don’t boil.

3.  Wash your peaches by rinsing in a colander.

4.  Place them into a pot of boiling water and blanch for 30 to 60 seconds.

IMG_6292

5.  After blanching, place them into a ice water bath to keep them from cooking.

IMG_6285

6.  Then the skins just slip right off.  No need to even use a knife.  If they don’t slip off, you may need to put them back in the boiling water for 30 more seconds.  If they still don’t slip, your peaches might not be ripe.  Put a ripe banana in the box and check them the next day.  The banana usually does the trick and the peaches ripen right up.

IMG_6289

5.  Kate and I both like to quarter our peaches.  It makes it easier to serve to the kids, and you can fill more peaches in the bottles than when you half them.  Kate is pitting and quartering the peaches here and… ikes my photo is blurry.  At this point you can use Fruit Fresh or lemon juice to keep your peaches from browning, but we never do.  We just work fast.

Here’s where I slacked off on taking pictures…. I was too engrossed with a story Kate was telling… or maybe I was telling… or my hands were too sticky to pick up the camera.  I will make sure I get the photos next time!

6.  Make a syrup.  Kate and I like a light syrup… because we’re pretty sure our kids get enough sugar from other places. We use 9 cups water to 2 1/2 cups sugar.  Bring it to a boil in a medium saucepan.

7.  We use a cold pack method… Put your quartered peaches face down in your hot and sterilized bottles.  By face down, I mean the pit side down.  We pack our bottles with peaches just to the line of the lip of the bottle (the end of the curve at the top.)  It’s good to pack them fairly tight… without squishing them, so they aren’t as likely to float.

8.  Now carefully pour your hot syrup into the bottles until your peaches are covered.  Leave a 1/2 inch of space at the top of the bottle… no more, no less.  You sometimes have to adjust here by adding or taking out a peach to reach the 1/2 inch mark.

9.  Using a butter knife, slide it down each side of the bottle to remove any air bubbles.

10.  Now use a clean damp cloth and wipe around the rim of your bottle.

11.  Place your lid centered on the bottle and screw on the ring.  I screw it finger tight.  You don’t want to over tighten the lid.  (I don’t know why, but I’m sure there is a good reason.)

IMG_6304

12.  Now place your bottles into the rack of the canner.  Place every other bottle across from each other so you don’t tip the rack over.  The water in your canner can be pretty warm, but not at a boil when you put your cans in, or you’ll break a can.  I fill my canner about half full of water.  Then I keep a another pan of hot water on hand to pour in if needed.  You want your jars covered with about an inch of water.  Now turn your burner up to the highest heat.

13.  You don’t start timing them until the water reaches a vigorous boil.  That’s the other nice thing about canning with a friend:  There are two people to watch when the pot starts boiling instead of one.  In my case that is a serious advantage, as I would forget my head if it weren’t attached. Because we are at high altitude and because we can our peaches the raw pack method… we process quarts for 40 minutes.  Once you have started timing you can turn the heat down a bit to maintain a gentle boil during processing.

14.  The other wonderful thing about canning with a friend… the cleanup goes twice as fast.

IMG_6301

15.  Once your jars have processed, carefully remove them from your canner and place them on a dishtowel to cool.  You should have about an inch in-between jars, but it doesn’t look like we followed that rule!  Oh well, nothing is better than seeing all those jars in a row.  We leave them on the counter until the next day.  After 24 hours, make sure to unscrew the rims and check the seals… the lids should be concave and should not flex up and down if the center is pressed.  If you have a jar that didn’t seal, put it in the refrigerator and eat them.  Because we have very hard water, we have to clean the jars off before putting them in your pantry.

So even though this was a crazy busy week for me, canning with Kate was so fun…  I can’t wait for our Jonathan apples to come on and then it’s time to make the most delicious applesauce around.

We canned two bushel boxes of peaches and ended up with 24 quarts.  That’s twelve quarts each…  and we saved a few peaches out of the box to make peach pie.


Archives


Virtual Quilting Bee