Hi, I’m Calli
Welcome! If you enjoy your visit, be sure to follow me:
Oh My Stars!
Canning Day Quilt

Posts Tagged ‘canning applesauce’

Canning Applesauce

IMG_7035

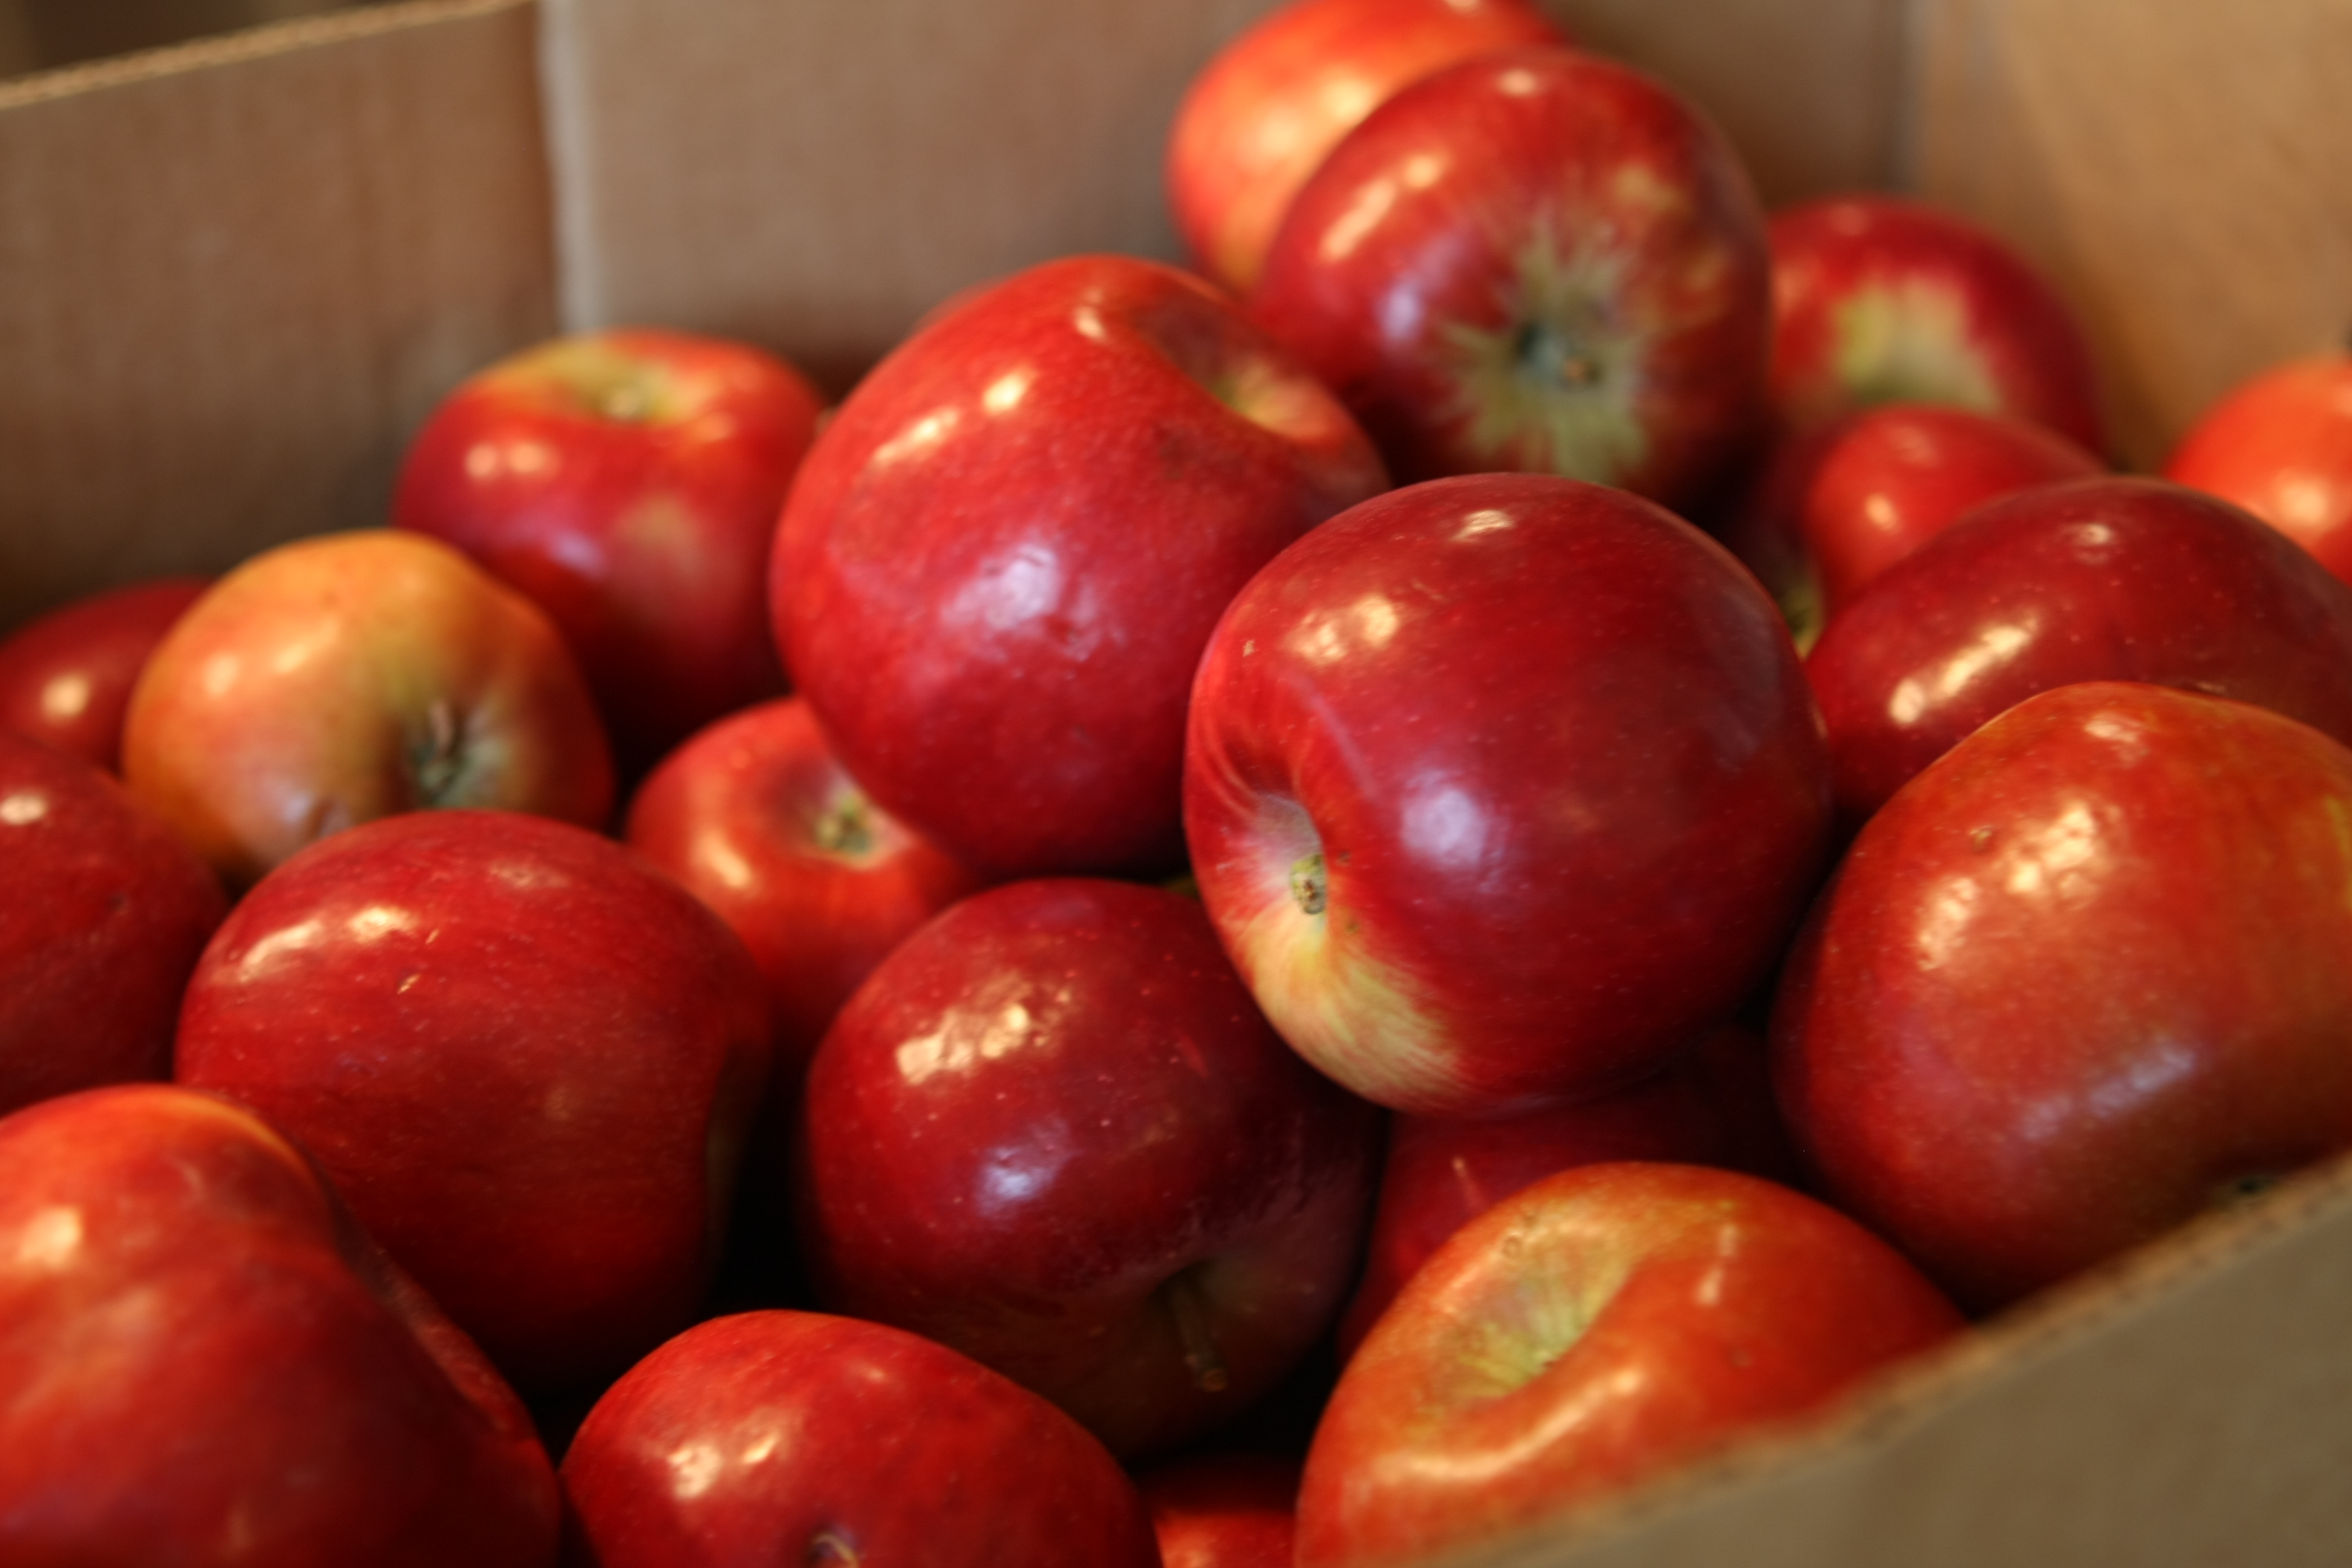
Canning applesauce is one of my favorite canning days of the year.  It smells heavenly when it’s cooking… and yesterday was shaping up to be a wonderful canning day.  It was the first real cold snap of the season and the weather report said to expect rain (we actually had snowflakes falling, though not sticking.)  I love canning applesauce when it’s stormy outside.

But the day was full of snafu’s all kinds… and it turned out to be an epic day of canning.  It’s a good thing I was in such good company!

Kate and I have canned applesauce for about 5 years together.  We always have such a wonderful time.  This year our dear friend Heather joined us (and I just hope we didn’t turn her off from canning forever.)  We decided to bottle 3 bushel boxes of apples… that’s a whopping 130 pounds.

The day started with us burning our first batch of applesauce. Not a good omen.  It didn’t get better when Heather backed into a fire hydrant with her poor car as she was running to the school for a quick errand.  The car bumper and tire were totally ruined.  The good news is the fire hydrant didn’t even budge.  I don’t think they really break and send geysers of water shooting into the air like they do in the movies.

All day long the applesauce seemed really slow to cook.  Maybe we were nervous about burning another batch and keeping the heat too low, but I think it also had something to do with the apples.  We quickly came to the conclusion that this was a bad year for Jonathan apples in Alpine.  The fruit was less juicy than normal which caused them to be more likely to burn, and our sauce lacked the lovely pink color it usually has.

The good news is… we were able to “Make it Do” and ended up with absolutely delicious sauce (even if it wasn’t as pretty as we are used to.)

Now if you still trust me after all that… here is how I make applesauce.

You will need:

  • Jonathan Apples – in my humble opinion Jonathan’s make the best applesauce.  I do not like super sweet applesauce.  I like sauce that is a little tart, not too sugary but still a little sweet… more natural tasting I guess.  I also love the wonderful pink color you get from Jonathan’s made with a Victorio Strainer
  • Sugar (but not too much)
  • Canning jars
  • Lids and rings
  • Victorio Food Strainer & Sauce Maker
  • Boiling water canner
  • Canning Tongs
  • A wide mouth canning funnel
  • Lots of bowls, large spoons and spatulas

IMG_7039

1.  Start by washing your apples.  Also put your canning jars in the dishwasher to sterilize, once your cycle is finished leave them in the dishwasher to keep them warm until you need them.  And place your lids in a small dish pan and simmer but don’t boil.  Keep your lids warm until you need them.

IMG_7031

2.  Next quarter your apples.  Remove the little fuzzy ends and the stem end of the apple.  You do NOT need to peel or core your apples.  Isn’t that slick… and quick?

IMG_7032

These apples are ready for the pot.  Notice the skins, core and seeds.  You don’t need to worry about them,  the strainer will do the work of removing those for you.

IMG_7020

3.  Place your apples in a stock pot and pile them high… and I mean a couple inches above the top of the pot.  As soon as they start cooking the apples shrink and the lid just falls into place.  You also need to add a small amount of water to your pot.  For my 10 quart stock pot I normally use 1/2 cup of water, because Jonathan’s are naturally really juicy.  For a 6 quart pot use more like 1/3 of a cup.  This not an exact science.  Today our apples were not so juicy and I used closer to 1 1/2 cups for the 10 quart pot… to keep the apples from burning while cooking.  Just remember you can always put water in, but you can’t take it out.  In the 10 years I have been making applesauce, this is the first year I’ve used more water.

Start cooking over medium high heat.  And when they are really cooking reduce the heat.  Don’t be tempted to crank up the heat or your apples will burn on the bottom.  This takes approximately 30 minutes and sometimes (like today) even longer.

IMG_7042

4.  Once your apples are soft and the skins are pulling away from the apple, take your pan off the heat.

IMG_7066

5.  Now for the Victorio strainer,  I borrow my mother in laws and yesterday we also borrowed my neighbors.  A Victorio Strainer isn’t something you use often and is a great thing to share with family or friends.  Bring the pot of apples and set it next to the strainer.  You ‘ll need one container to catch the sauce, and another out the side funnel to catch the waste.  Now to get started.  We use a Pyrex measuring cup to scoop out the hot apples from the pot and pour into the funnel of the Victorio Strainer.  Then crank the apples through, three boxes of apples is a great way to work out your arm muscles!  The sauce comes out one side and the waste- the peel, core and seeds come out the other.  After cranking through one pot of apples, we always put the “waste” through the funnel a second time.  This gives you more sauce and “wastes not.”

IMG_7055

6.  Now that you have your beautiful sauce, this is the time to season it.  Check for sweetness and add sugar if needed.  This year our apples were more tart than usual and we needed more sugar.  Go by taste, and what you like.  You can also add cinnamon or apple pie spice or anything else you like.  My family likes just plain applesauce.  This is also the time to add water (or apple juice) if your sauce is too thick.  Yesterday we had to add water to get it to a nice applesauce consistency.  Remember your sauce does get a little thicker once the jars have been processed.

IMG_7058

7.  Take your warm jars from the dishwasher and fill with your warm applesauce.  A wide mouth canning funnel is essential.  Fill your jars just to the ring at the base of the jar neck, leaving about 1/2 inch of space at the top of the jar.  Don’t overfill or it can overflow.

8.  Using a butter knife run the knife around the jar, removing any air bubbles.

9.  Carefully wipe around the top of jar, making sure it is perfectly clean.

10.  Place warm lids centered on jar and screw on the ring finger tight.

IMG_7079

11.  Place the jars in your canner with warm, but not boiling water.  You don’t want the water to be a lot hotter than the jars or you’ll break a jar (trust me on this one.)

12. As soon as the water is at a rapid boil, start timing.  Here are the processing times for applesauce:

  • 0- 1000 feet                pints:   15 minutes        quarts:  20 minutes
  • 1000- 3000 feet                       20 minutes                      25 minutes
  • 3000- 6000 feet                      20 minutes                      30 minutes
  • Above 6000 feet                      25 minutes                      35 minutes

IMG_7076

13.  Once your jars are finished, carefully remove them from the canner using canning tongs.  Place them on a clean dish towel, leave about an inch of space between each jar for them to cool.  You should hear them popping to seal.  Leave the jars on the counter overnight to cool.  Once the jars are cool, be sure to check the seal, the lid should be firm and slightly concave.

If you have a jar that did not seal, you can put it in the refrigerator and eat.  Or you can reprocess the jar.  Throw away the lid that did not seal.  Make really sure the top of the jar is clean.  Replace with a new canning lid (make sure you simmer that new lid for about 5 minutes) and reprocess the jar.

We love to eat applesauce throughout the year.  I serve it with lunch or as a great after school snack.  My husband loves it in the morning on toast or wheat pancakes.  He especially loves it on hot wheat bread right out of the oven.

I’ll give you one warning.  This sauce is so good, you’ll never want store bought sauce again.

Archives


Virtual Quilting Bee