Remake: Old Lampshade to Fabulous Chicken Wire Basket
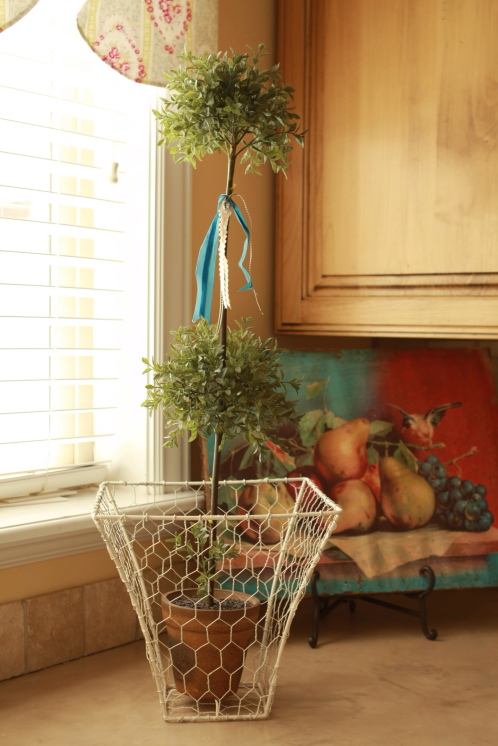
Last month I was a guest on Ucreate making this wonderful chicken wire basket out of an old unused lampshade. I am reposting it on Make it Do so I have it in my archives. If you missed it on…
Last month I was a guest on Ucreate making this wonderful chicken wire basket out of an old unused lampshade. I am reposting it on Make it Do so I have it in my archives. If you missed it on…

Here is an easy way to add a little loveliness your bathroom. The plain old hand towel in my bathroom was just that. PLAIN. I decided it needed a little makeover. I started with a simple white towel and added…

I created this zig zag pillow tutorial for a guest post on Ucreate a while back, but I wanted to share it here as well. Not long ago, I was strolling through Anthropologie online and noticed a wonderful zig zag…

Whenever a new season rolls around, I love to give my kitchen a lift by hanging up a new dishtowel. It’s a small thing, but it’s always a welcome change. When I spotted the Farmdale fabrics from Alexander Henry at…

I have been thinking of writing a series of posts on mending for a while. Last year, I wrote about how to mend jeans with a rip in the rear… that really rolls off the tongue…. which was practical, but…

Holy cow, it’s almost time for my kids to head back to school… and that means one thing: My project list is very long. Since I might be the most hairdo challenged person on the planet (my girls can only…

Emma and Lily have worn their babushkas everyday since I made them last week. They are fun and practical… and apparently quite comfortable… since they won’t take them off. Here’s how to make one (or 2 or 3): This tutorial…
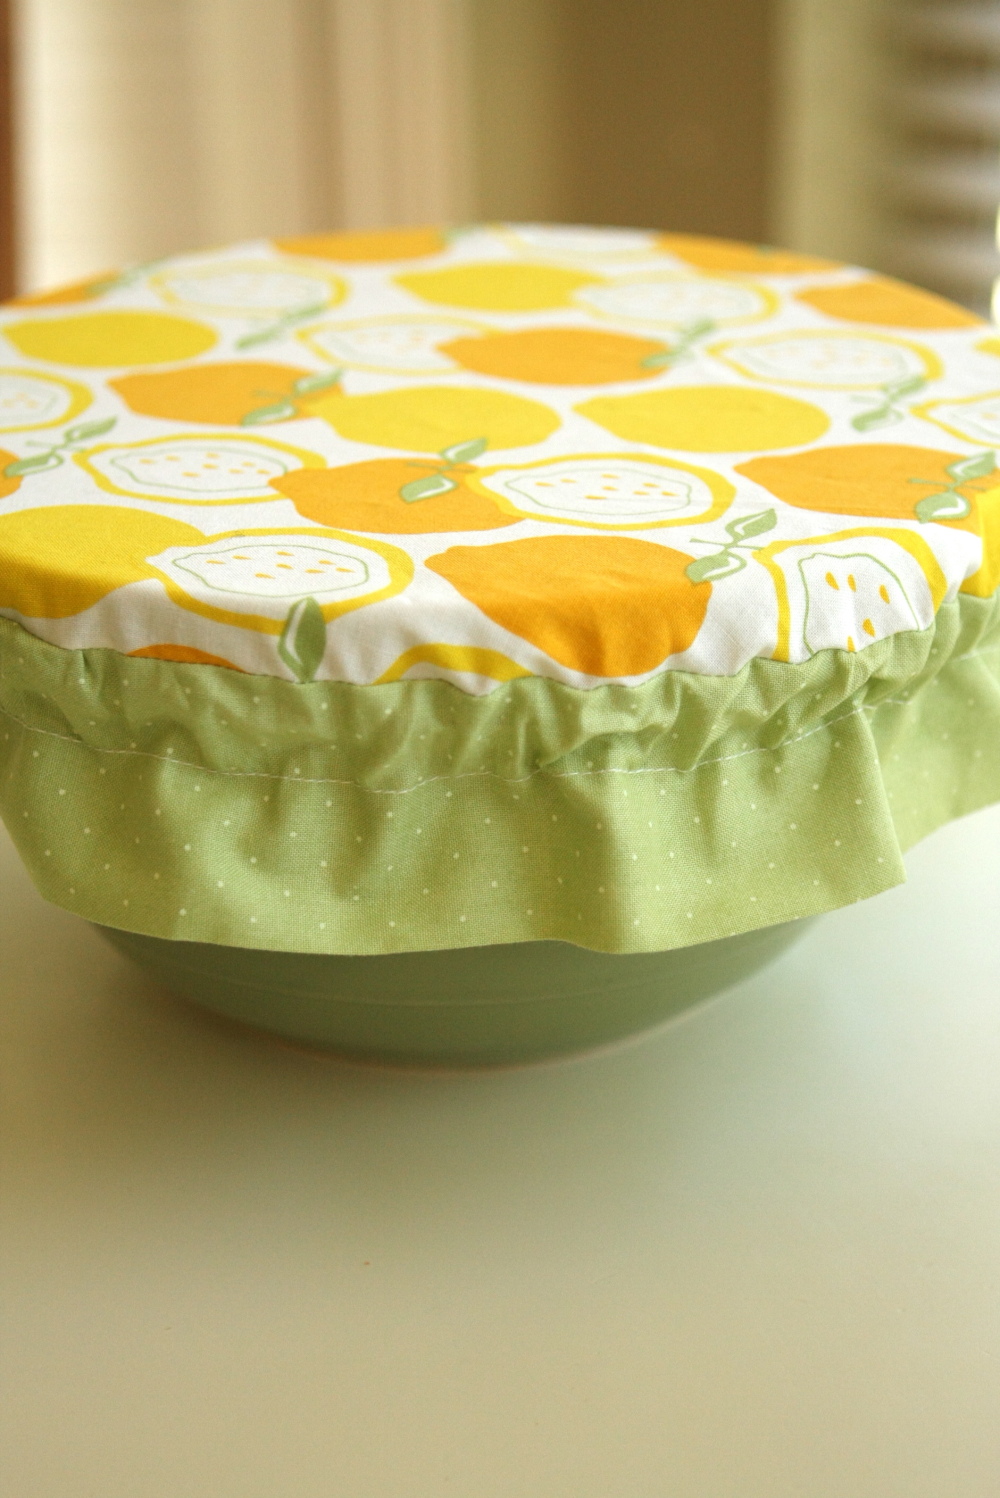
The inspiration for this project came from the talented Mayaluna of maya*made. She posted a tutorial on making a picnic bowl cover strap, made out of an old shirt, no less. I loved her tutorial so much, I decided to…
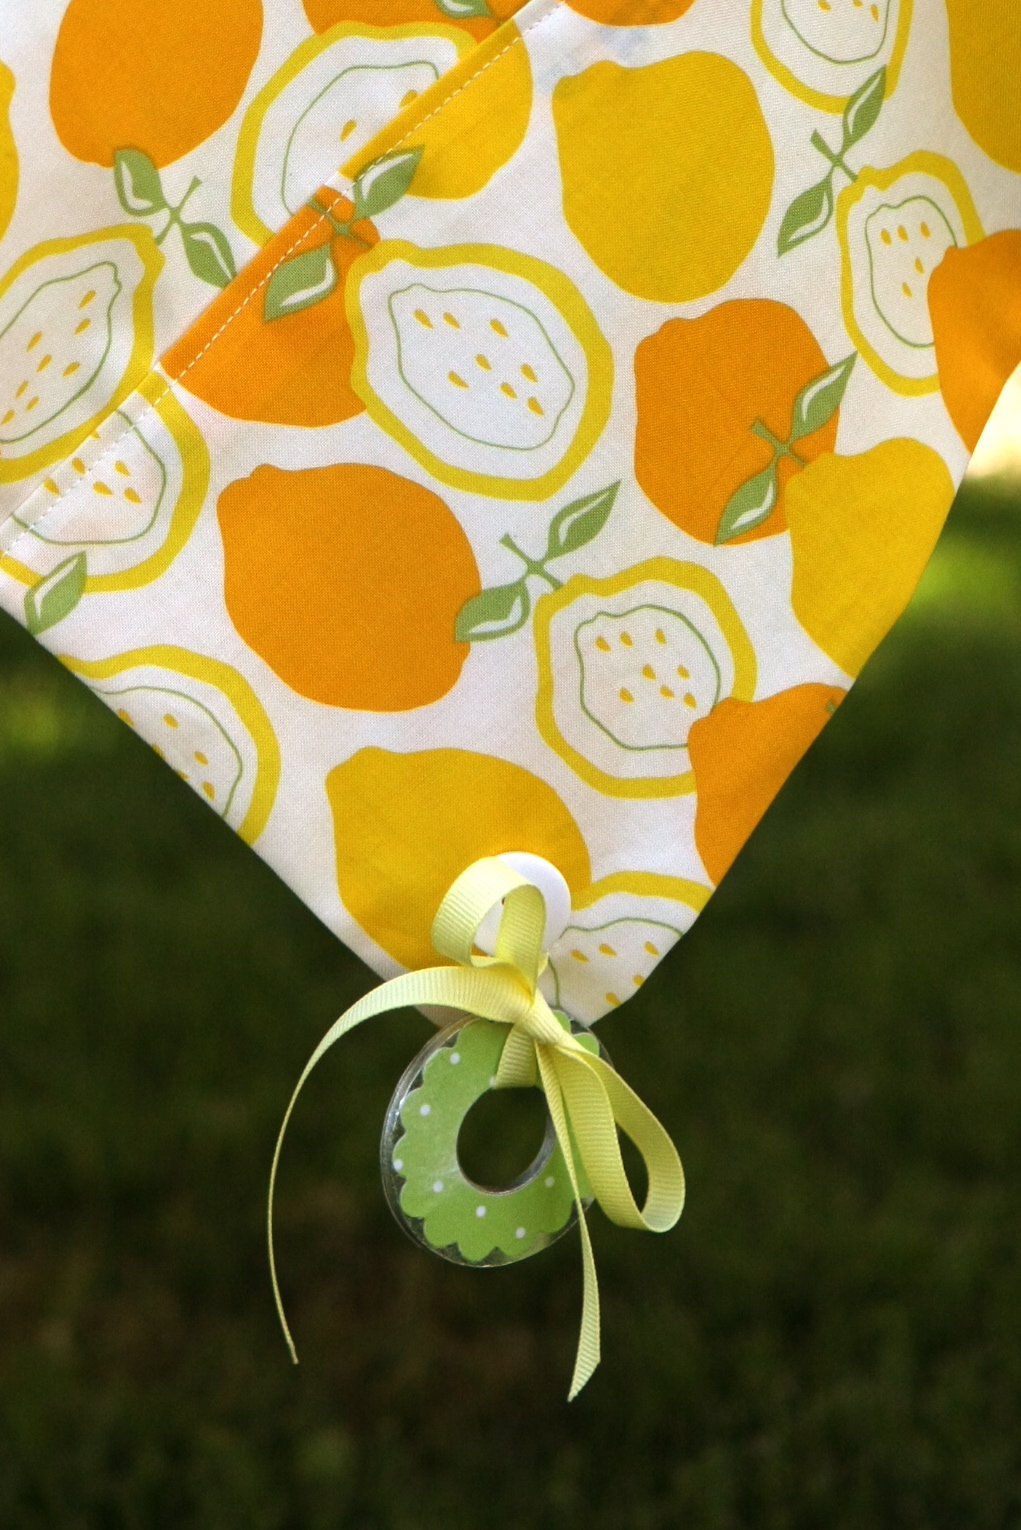
“Never eat more than you can lift.” -Miss Piggy Very good advice for a picnic Miss Piggy. I’ll try to remember that. But sometimes a little weight at a picnic comes in handy…. like on a breezy day for instance.…
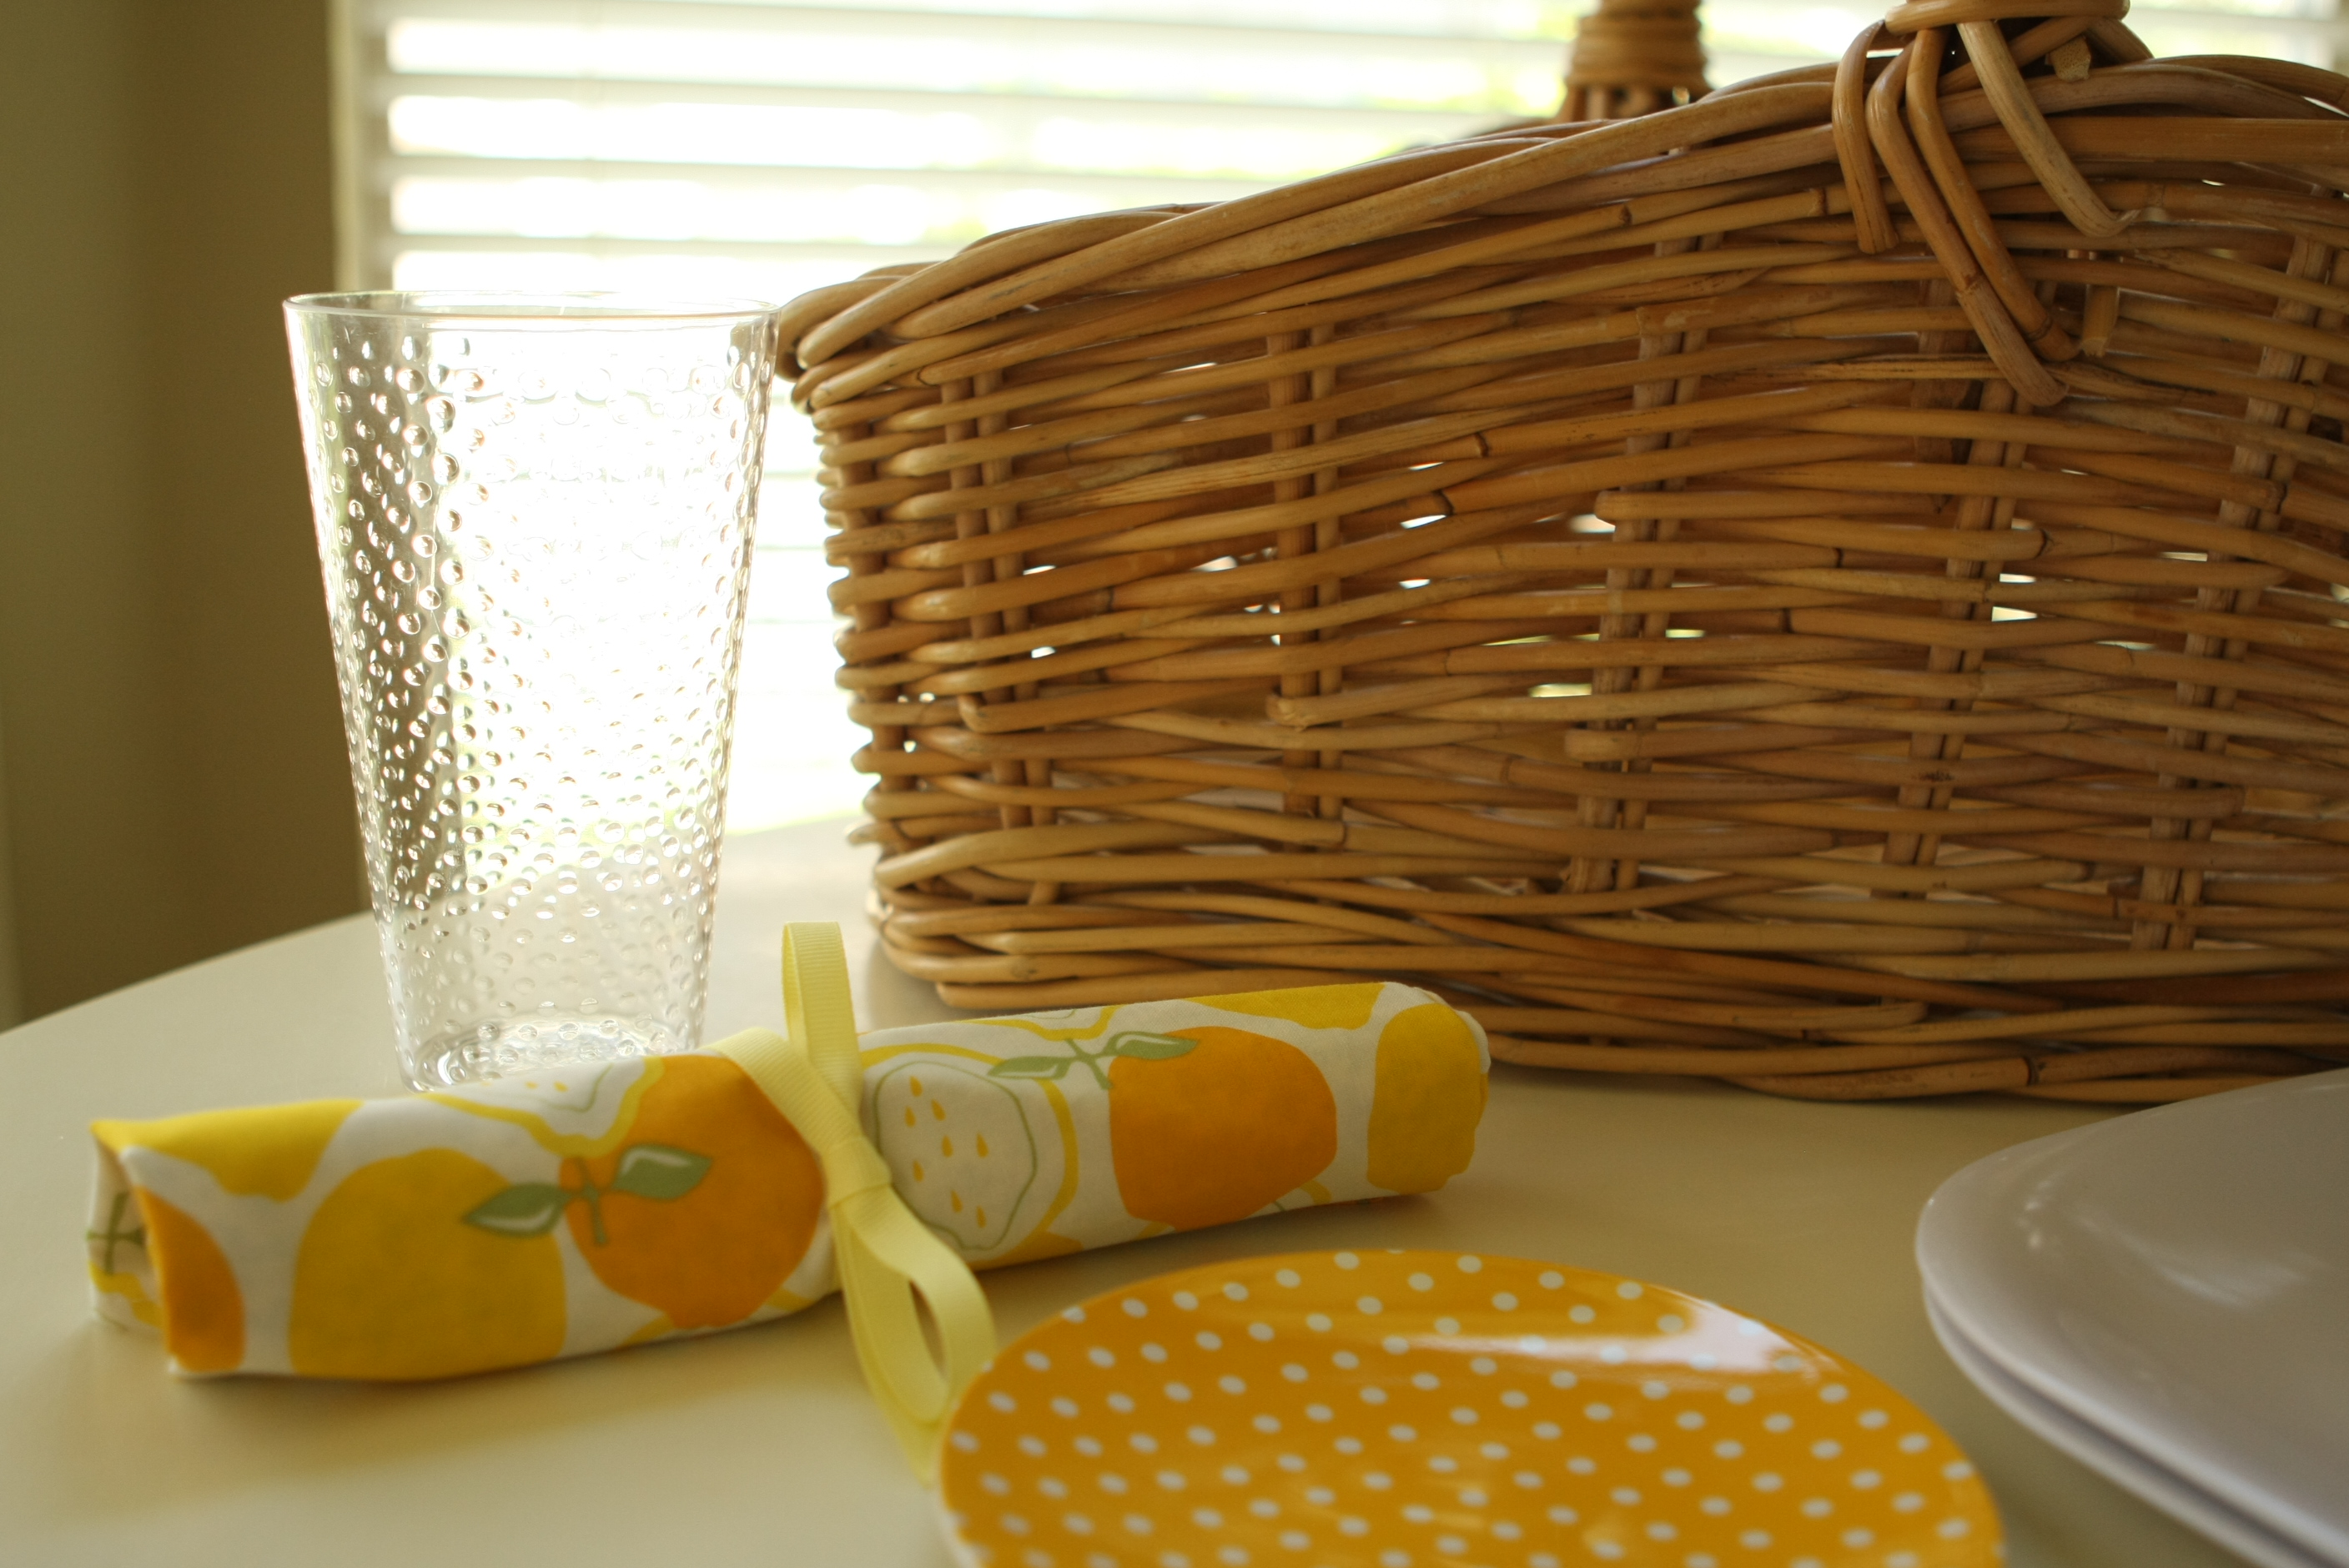
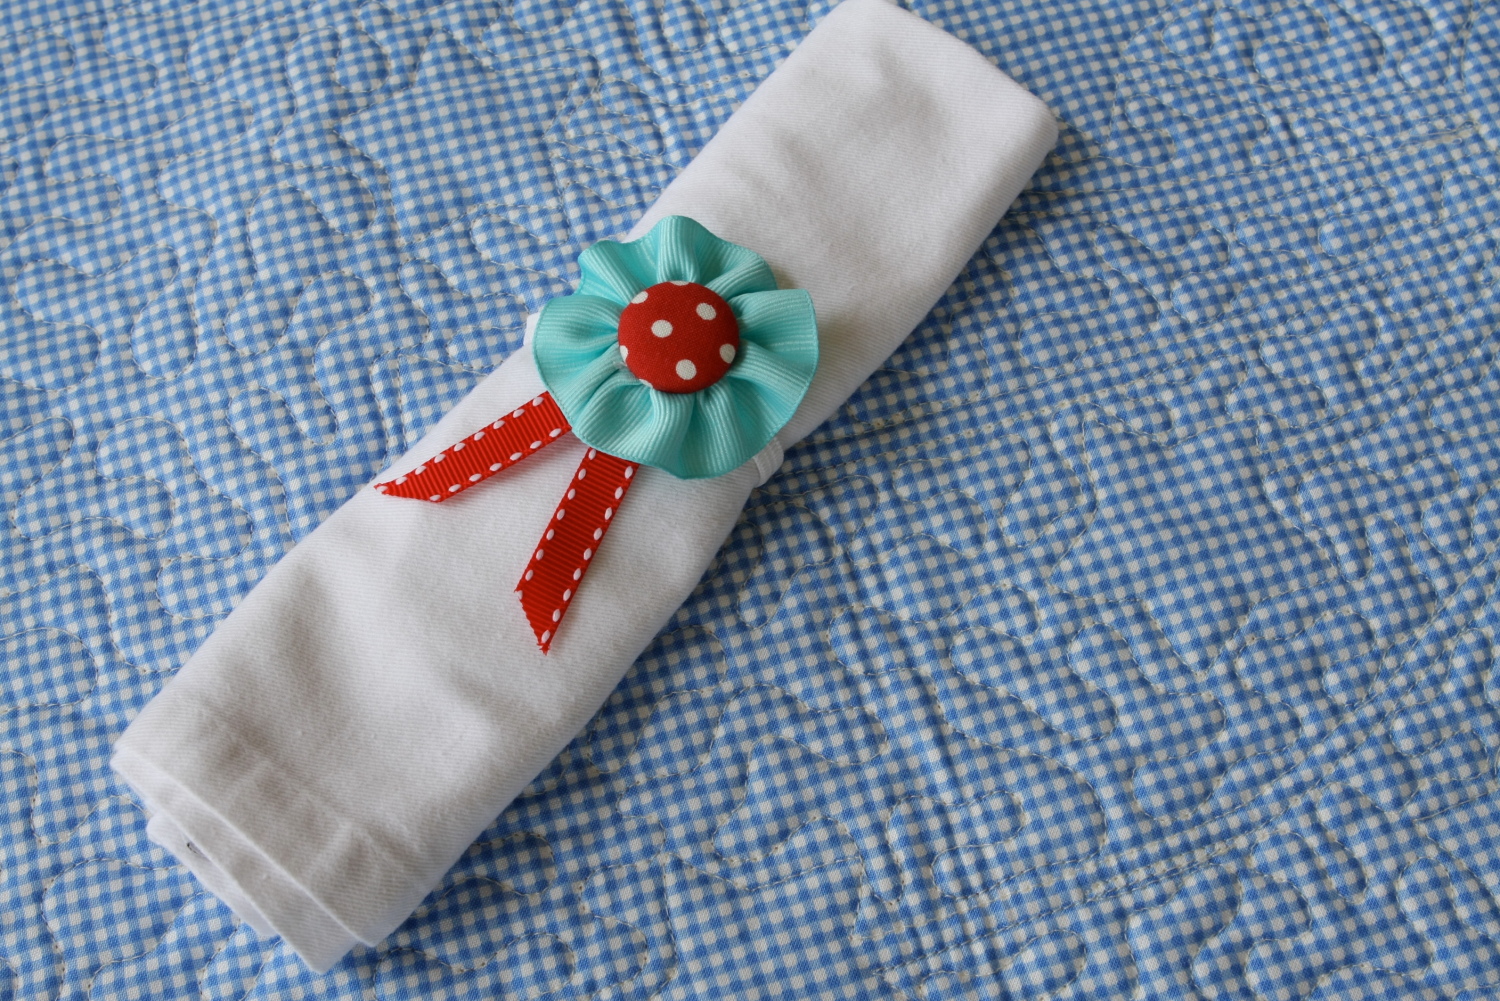
It’s Picnic Week at Make it Do. I’ve got some fun projects and recipes I can’t wait to share. Our family loves going on a picnic. So this year, I decided it was time to invest in a set of…
I love the 4th of July and this time of year I start thinking of all things red, white and blue. The look of a classic bunting is on my mind. So this morning I pulled out some of my…

Hurray, I finally finished this post! Making this apron was so much easier than writing about it. How many times can you get interrupted, I ask you? And still keep your head in the game? But all’s well that ends…