Quick and Easy Mending Kits
This past Monday I taught a little class about mending to a group of 10 and 11 year old girls. Since we had a small budget, I put together inexpensive mending kits for each of the girls, inspired by a…
This past Monday I taught a little class about mending to a group of 10 and 11 year old girls. Since we had a small budget, I put together inexpensive mending kits for each of the girls, inspired by a…

Yesterday afternoon my girls each invited over a friend to make crayon hearts using this tutorial from Martha Stewart. They were so easy and fun to make. And once we hung them in the windows, they prettily catch the light.…

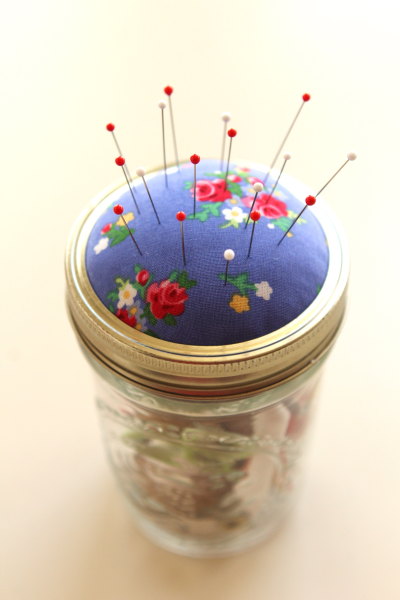
I have a little thing for Mason jars. Beyond their obvious use for canning, I love Mason jars for storing leftovers, dry goods in my pantry, giving soup to a sick friend, and even to store things like clothes pins.…

A few people have asked for the dish cloth pattern that my mom knitted for my birthday. The pattern comes from her Aunt (and my Great Aunt) Evalyn. I’ve gotten started knitting dish cloths to give as gifts for birthdays…

A while back I spotted a wonderful Washi tape magnet project on Craft and I filed it away in my brain for a must make… When a phonebook was left on my front porch with a magnet stuck to the…

It seems like it should be December 15th, but two empty spots on our Advent say different. Ready or not, Christmas is here. I’m good though… I’m deliberately choosing NOT to worry about what I didn’t get done. Instead I’m…

Every year since I was young, my mom has served up chili and homemade breadsticks each Halloween night. It’s a delicious stop for friends and neighbors along their trick or treat route. About 10 years ago, she started serving piping…

My daughter is going to be raven this year for Halloween. The base of the costume was a lovely long tutu from last year’s dance performance. It was easy to add the other elements of the costume with such a…

This week has been a whirlwind of cooking, canning, and costumes. Yesterday was spent with my friend Kate for our annual day of canning applesauce. We’ve both looked forward to this day for months, despite a mishap riddled canning day…

This past week I’ve been slogging by with a cold and sinus infection. Bleck! Whenever I get feeling rundown like this, I get a craving for happy yellows and lemons. Fresh lemon squeezed in hot water is one of my…

I could wile away the hours Conferrin’ with the flowers Consultin’ with the rain And my head I’d be scratchin’ While my thoughts were busy hatchin’ If I only had a brain… There’s something homey and humble about…

I was thinking about how (in the good old days) we used to scavenge our Halloween costumes from the attic or from the thrift store. Sure, my mom would sew costumes here and there, but often we used our ingenuity,…