Fresh Peach Pie
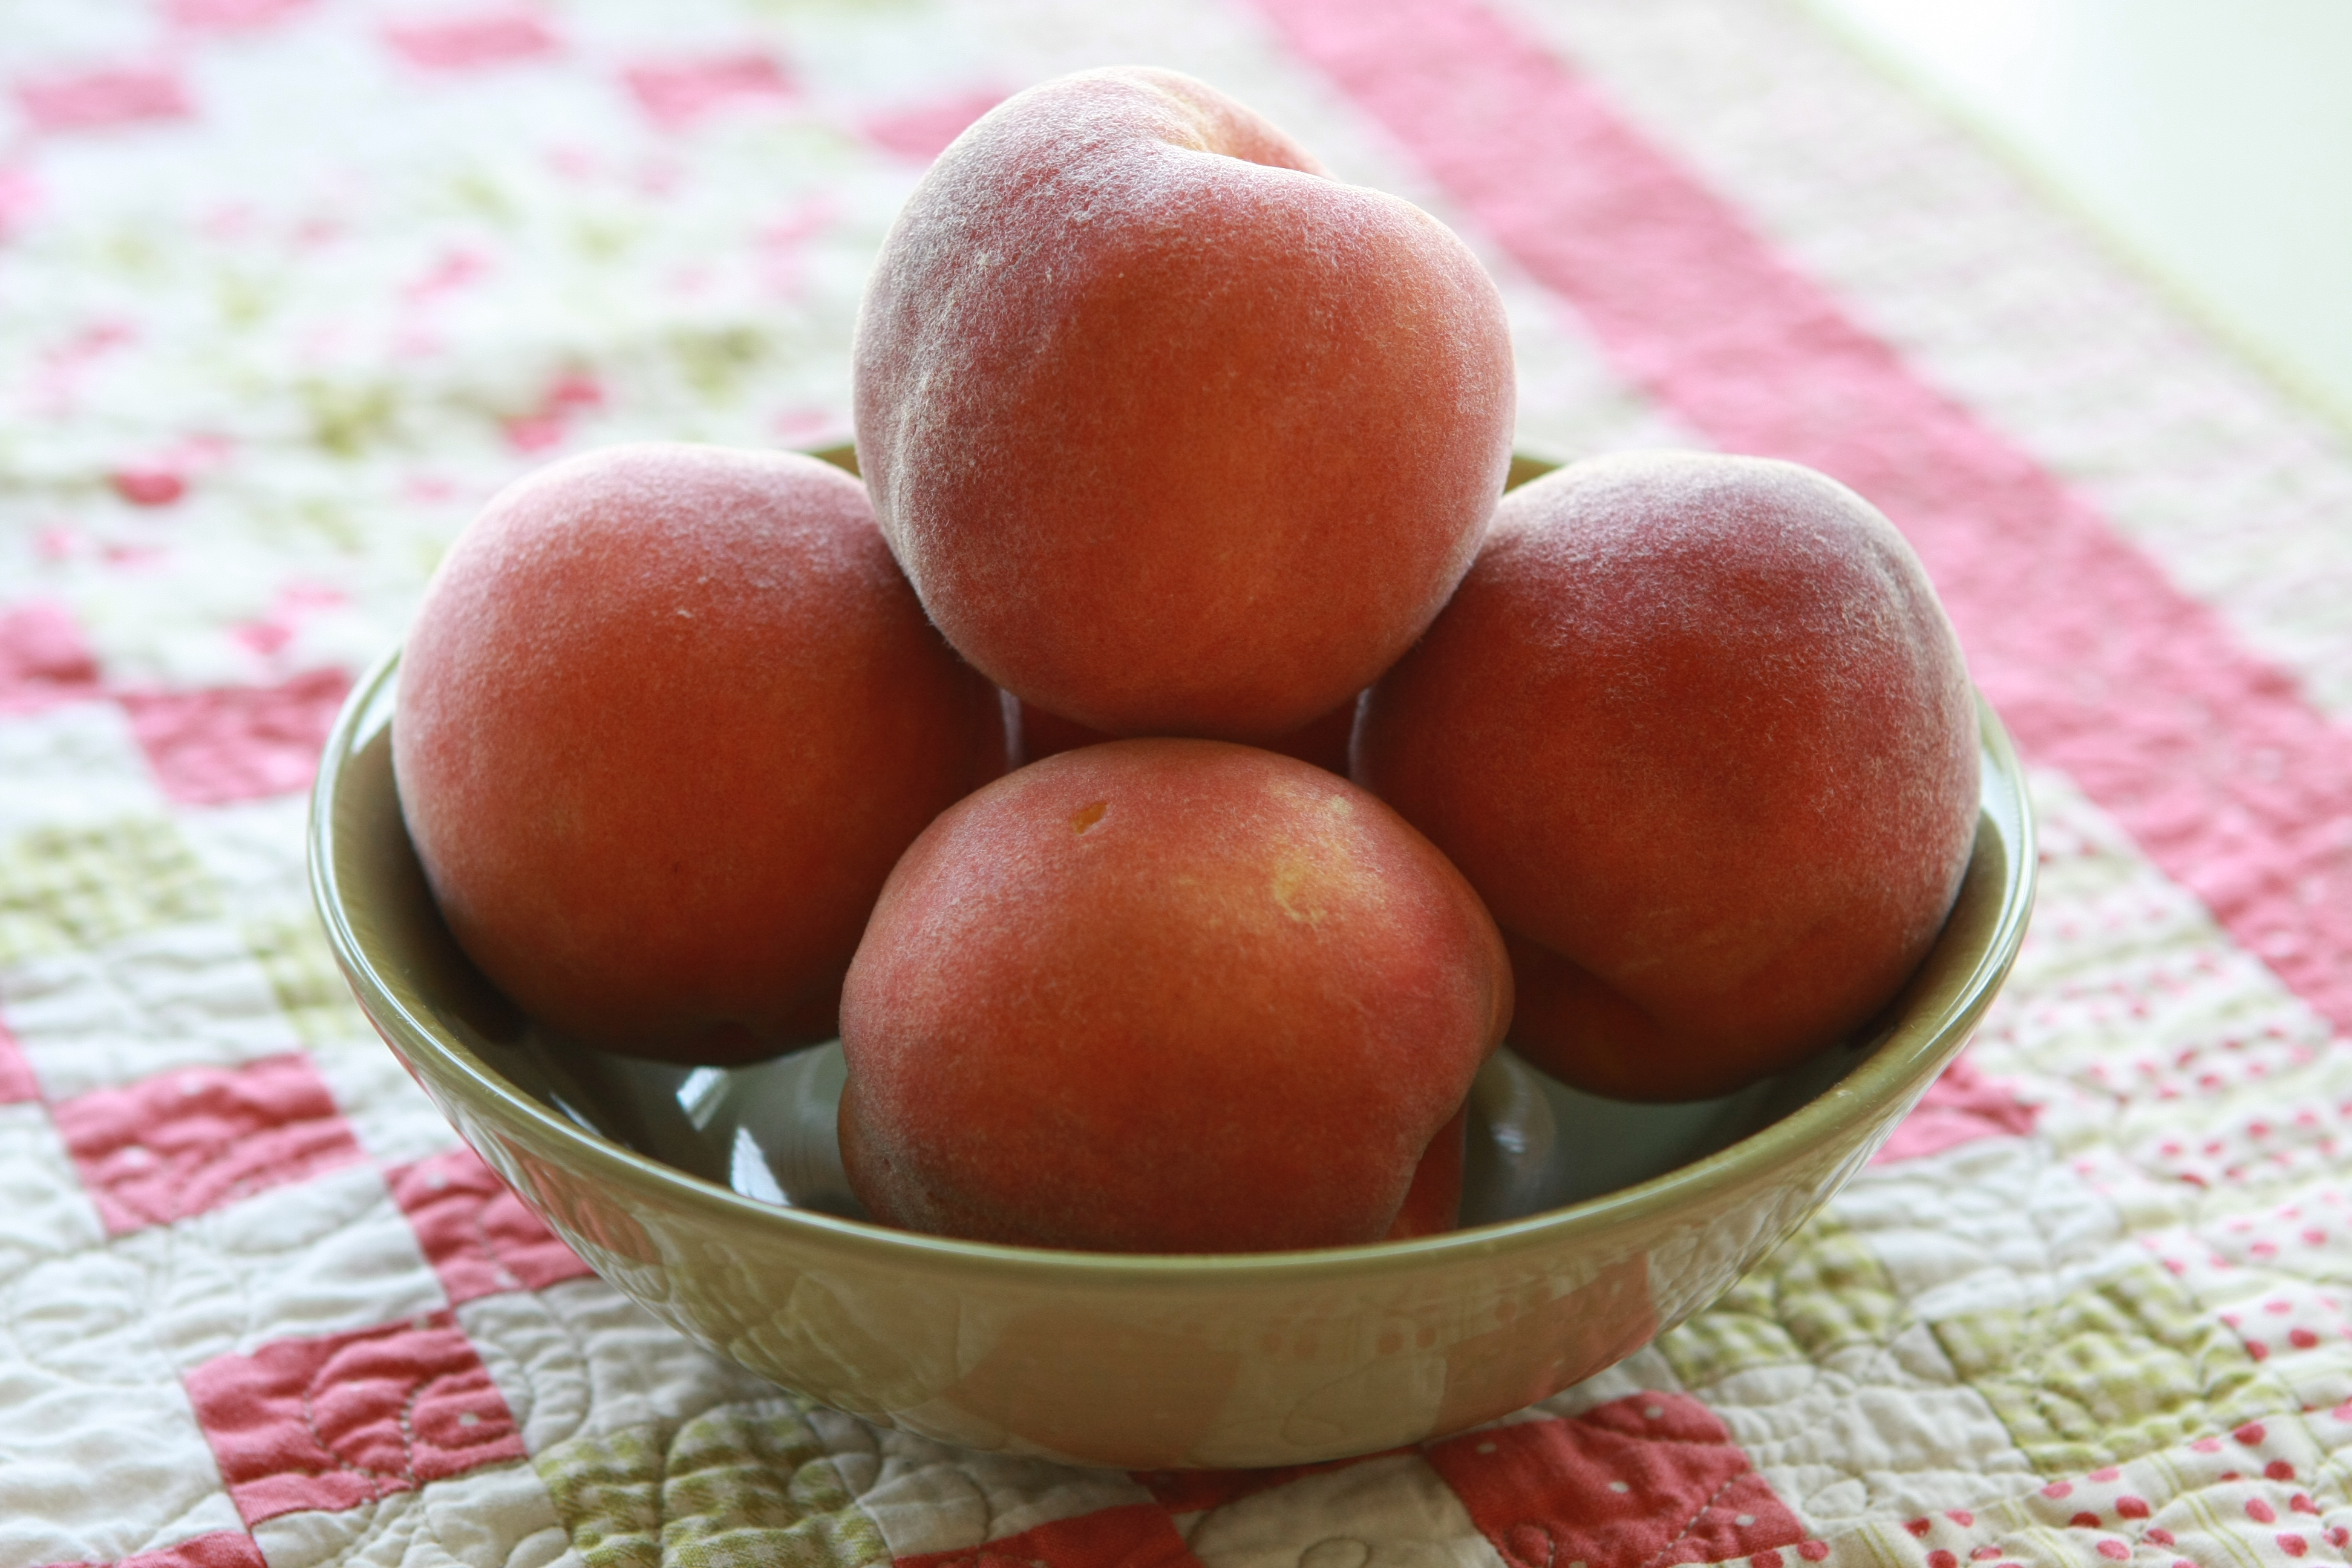
The long awaited peach season is upon us here in my hometown of Alpine. And according to Rachel at S & R Fruit it’s going to be a bumper year. My general philosophy is “Eat as much as I can…
The long awaited peach season is upon us here in my hometown of Alpine. And according to Rachel at S & R Fruit it’s going to be a bumper year. My general philosophy is “Eat as much as I can…

Yesterday I made Chokecherry Syrup from the wild chokecherries we picked earlier in the week. Making fruit syrups is easy as can be, and the taste is divine. It’s also a wonderful way to “Make it Do.” In the case…

A true friend is someone who thinks that you are a good egg even though he knows that you are slightly cracked. -Bernard Meltzer Since school started last week, my friends and I wave goodbye to the disappearing bus and…

I had my first chokecherry pie while visiting friends at their ranch in Swan Valley, Idaho several years ago. I have to admit, I am not a big fan of cherry pie, so I was a bit skeptical. But to…

My kids started school last Thursday. I started sewing school bags for them on Wednesday and optimistically thought I might be able to finish their bags that day. But I didn’t. It took me until Sunday to get them finished. …

Ah, summer, what power you have to make us suffer and like it. ~Russel Baker After nearly melting like a popsicle in the the sun on Saturday (temperatures were over 100) we get a little reprieve from the weather. This…

At Lily’s request I made Peanut Butter Cup cookies for the first day of school. This meant an extra trip to the grocery store for Peanut Butter Cups… but these cookies are a favorite of all three of my kids…
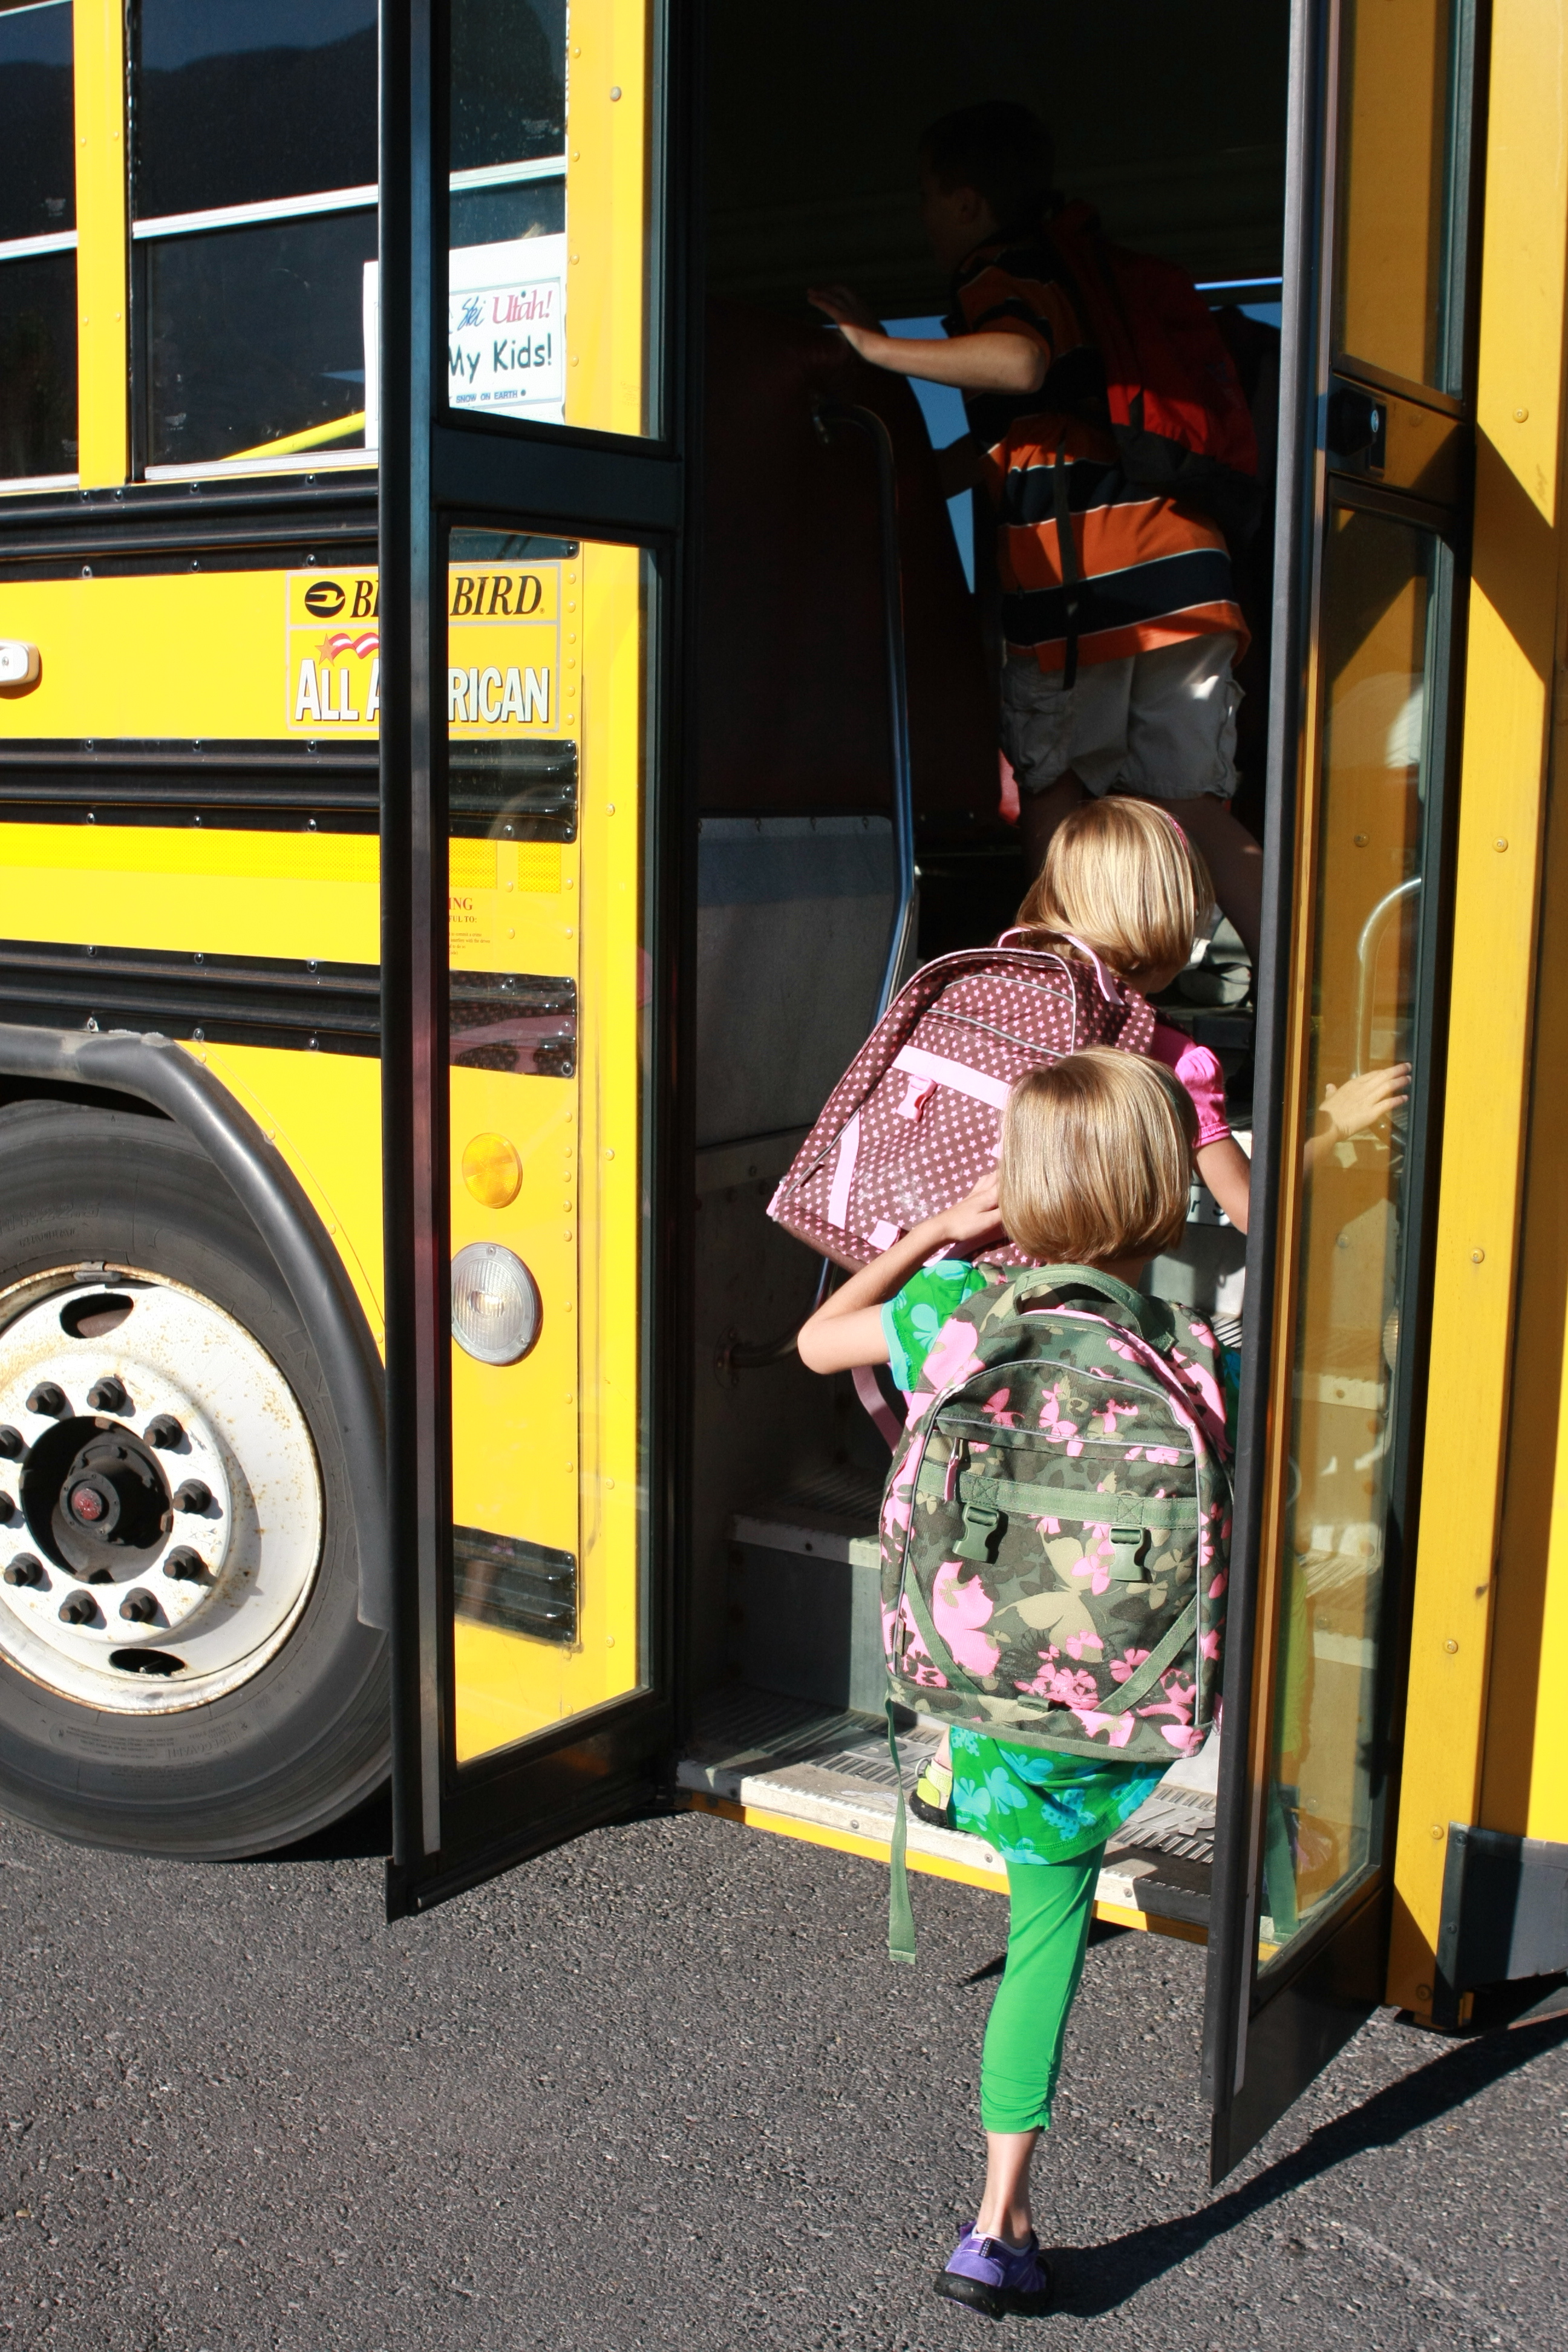
Hello school. Hello Mrs. Pope. Hello Mrs. Smith. Hello Mrs. Smith. Hello homework. Hello 8:30 bedtime. Hello routine. I’m so ready to have you in my life. Today is the first day of school. Can you believe it? I never…
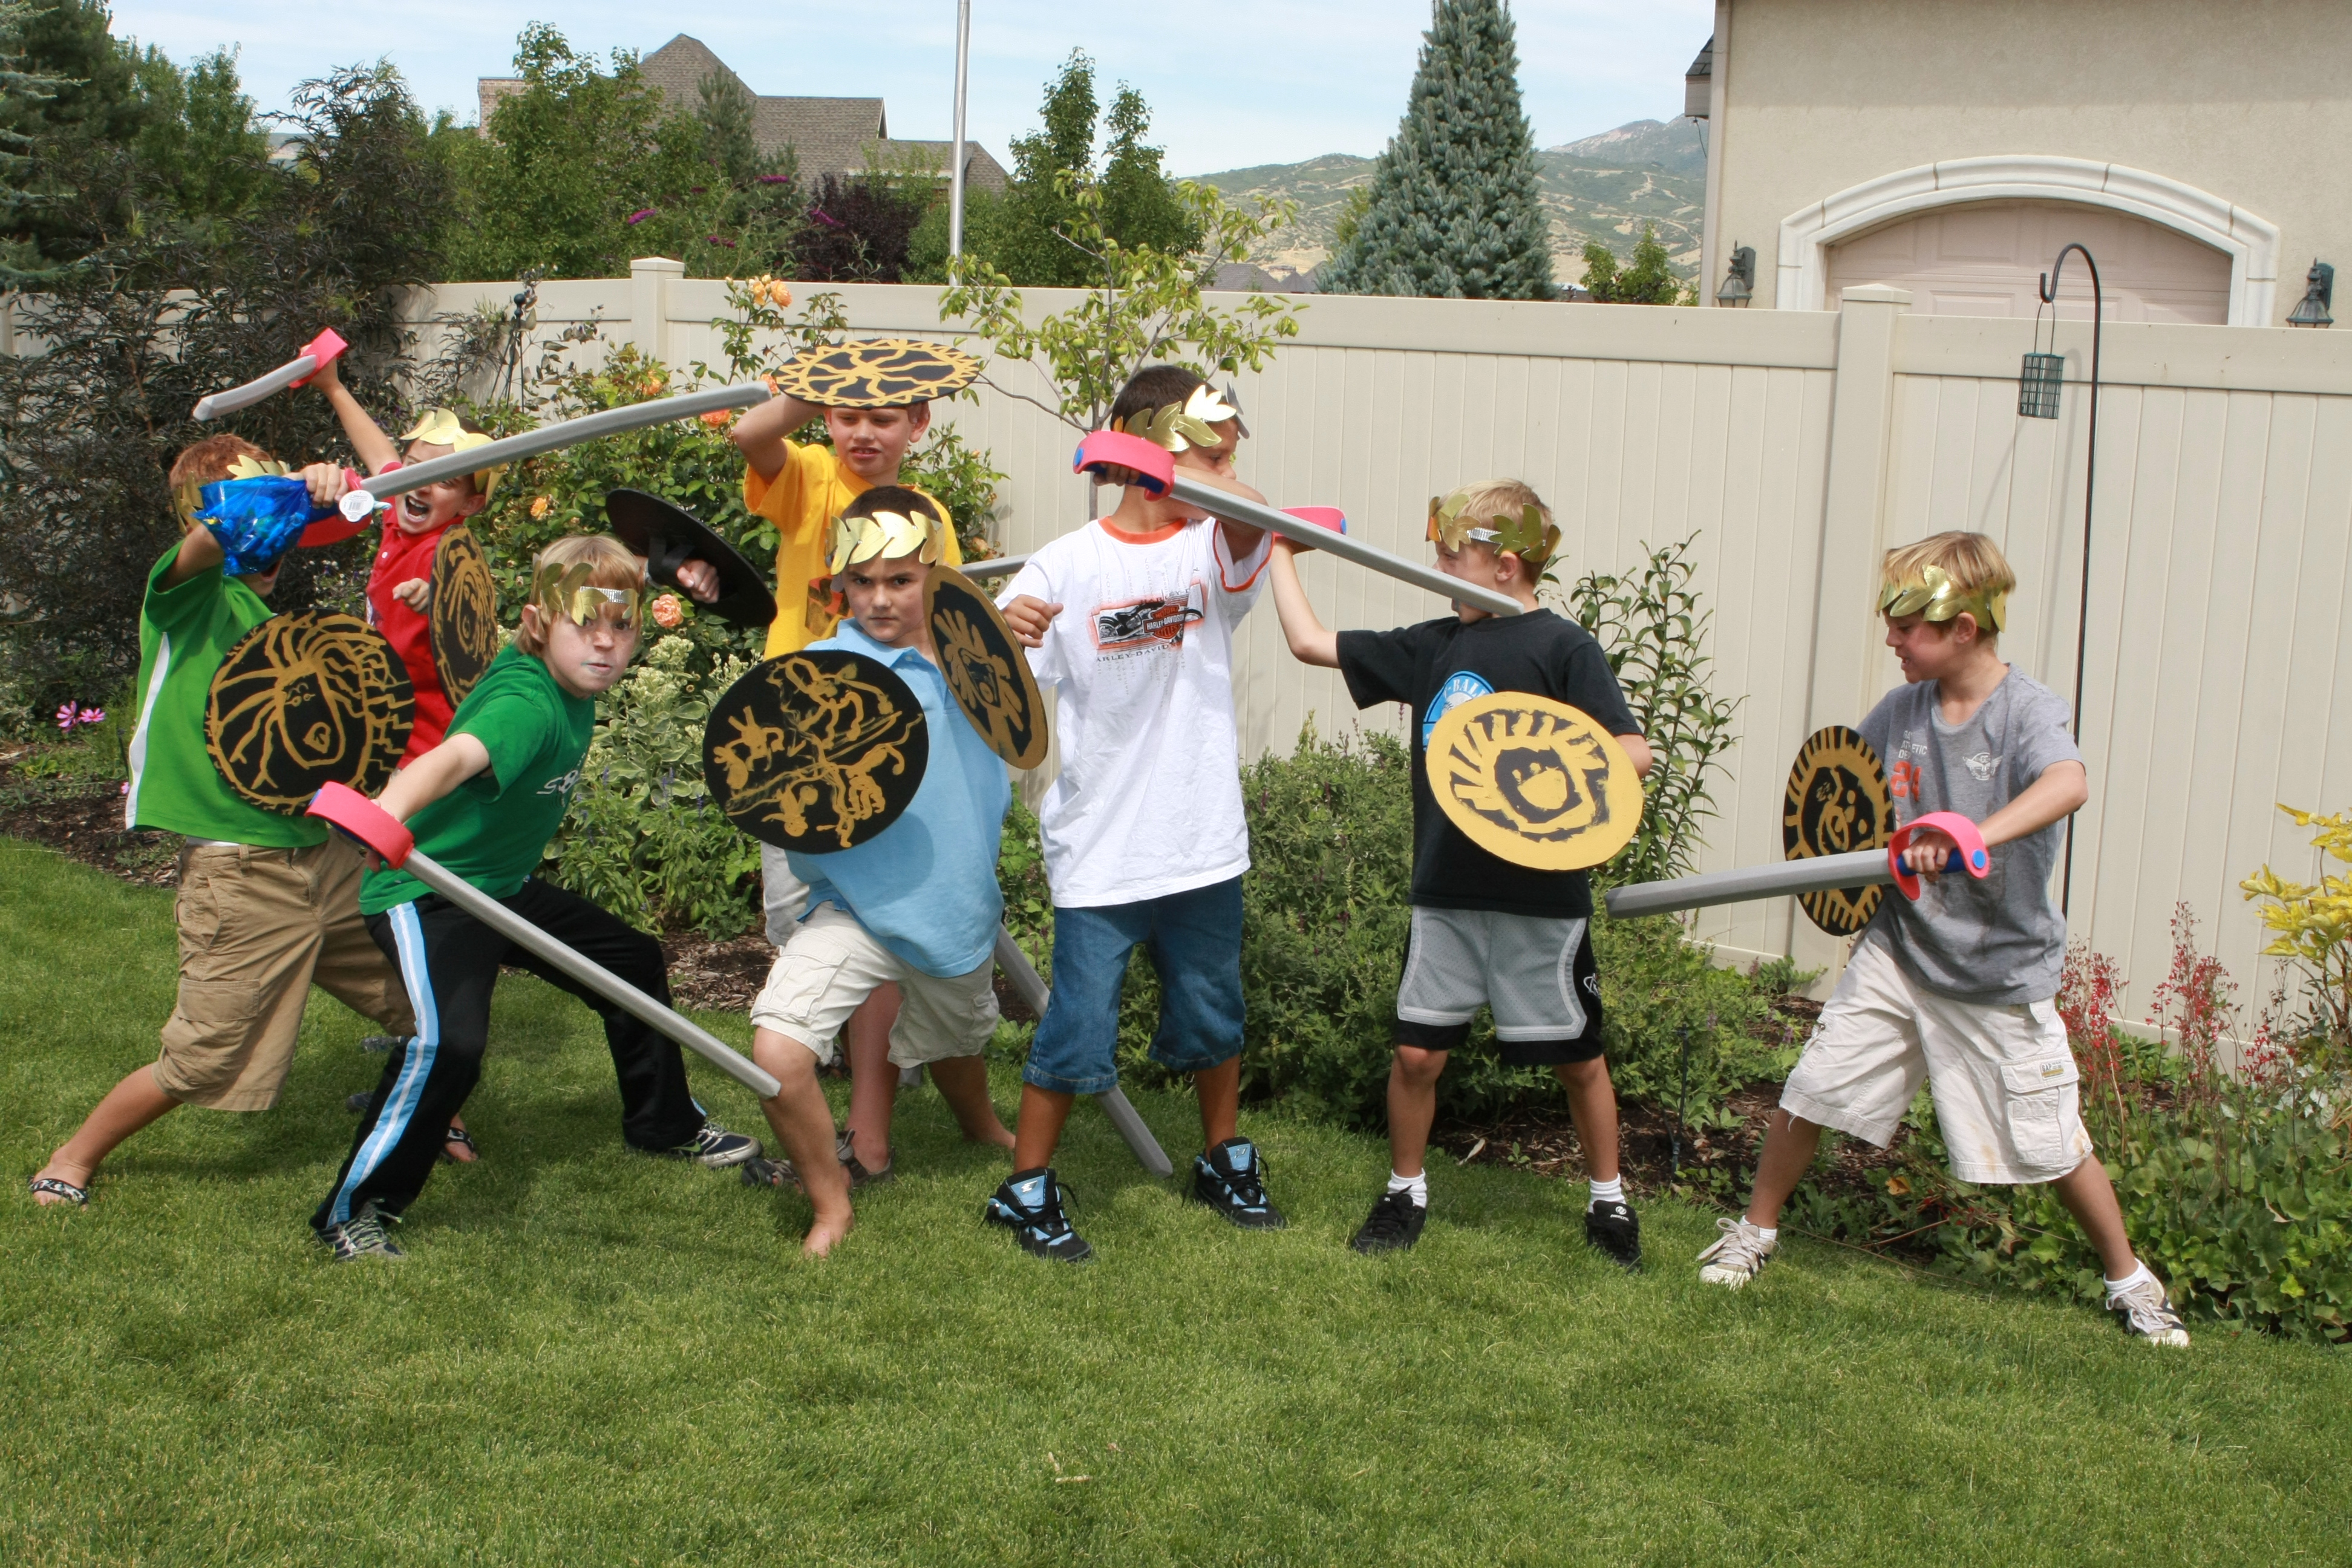
Yesterday was Ben’s 9th Birthday Party, a Percy Jackson and the Olympian’s Party. Unless you are currently in elementary or junior high school you may have never heard of Percy Jackson… it is a wonderful series of books about a…

Opportunity is missed by most people because it is dressed in overalls and looks like work. ~Thomas Edison With a busy day ahead, and not much time, I thought I would at least mention this quote I ran across and…

The next week is coming at me like a freight train. I have two wedding showers this weekend (I am helping to throw one and just attending the other), a family birthday party, my darling niece’s Baptism, in charge of…

What do you do with delicious summer raspberries? (Other than eating them like candy right out of the paper carton.) This week I dropped by one of my favorite fruit growers, Rachel at S & R Fruit in Alpine, Utah. …